
Last week I shared the many steps to refinish/paint a vintage piece of furniture. And promised to share the end result. Here’s a little before/after fix for you!


As you can see from the before pic, this is becoming a bathroom vanity. It’s going to be a classic beauty!
Something New
With the weather so nice on Sunday, I was able to grab some time to sand my next piece. It’s a cute little cabinet that needed some major love. I have so much planned for this cabinet. It might not look like it deserves that much attention, but it’s also a way for me to spread my wings and learn something new.
Never be afraid to try something new, because life gets boring when
— Anonymous inspirational quote
you stay within the limits of what you already know.

Tissue Decoupage Paper
I’ve been seeing some really pretty tissue decoupage paper that furniture artists are using on the sides of drawers. I found three nature-inspired prints that I loved on Zazzle.com and ordered them to give it a try. My idea was to have a lovely surprise on the inside of the cabinet doors. I’m sharing what I did here, but I really need to give credit to Cynthia Kay at My Mother’s Dresser. She sent me her post on how to do this well, and it worked out beautifully!
The first thing I needed to contemplate was how I wanted the print to look when I opened the doors. When I laid the doors with the backs showing, facing each other when closed, I realized this was not how I’d see the print with the doors open. So I had to work through that part first. Also, making sure my knob holes were in the right spot for the direction of the print.

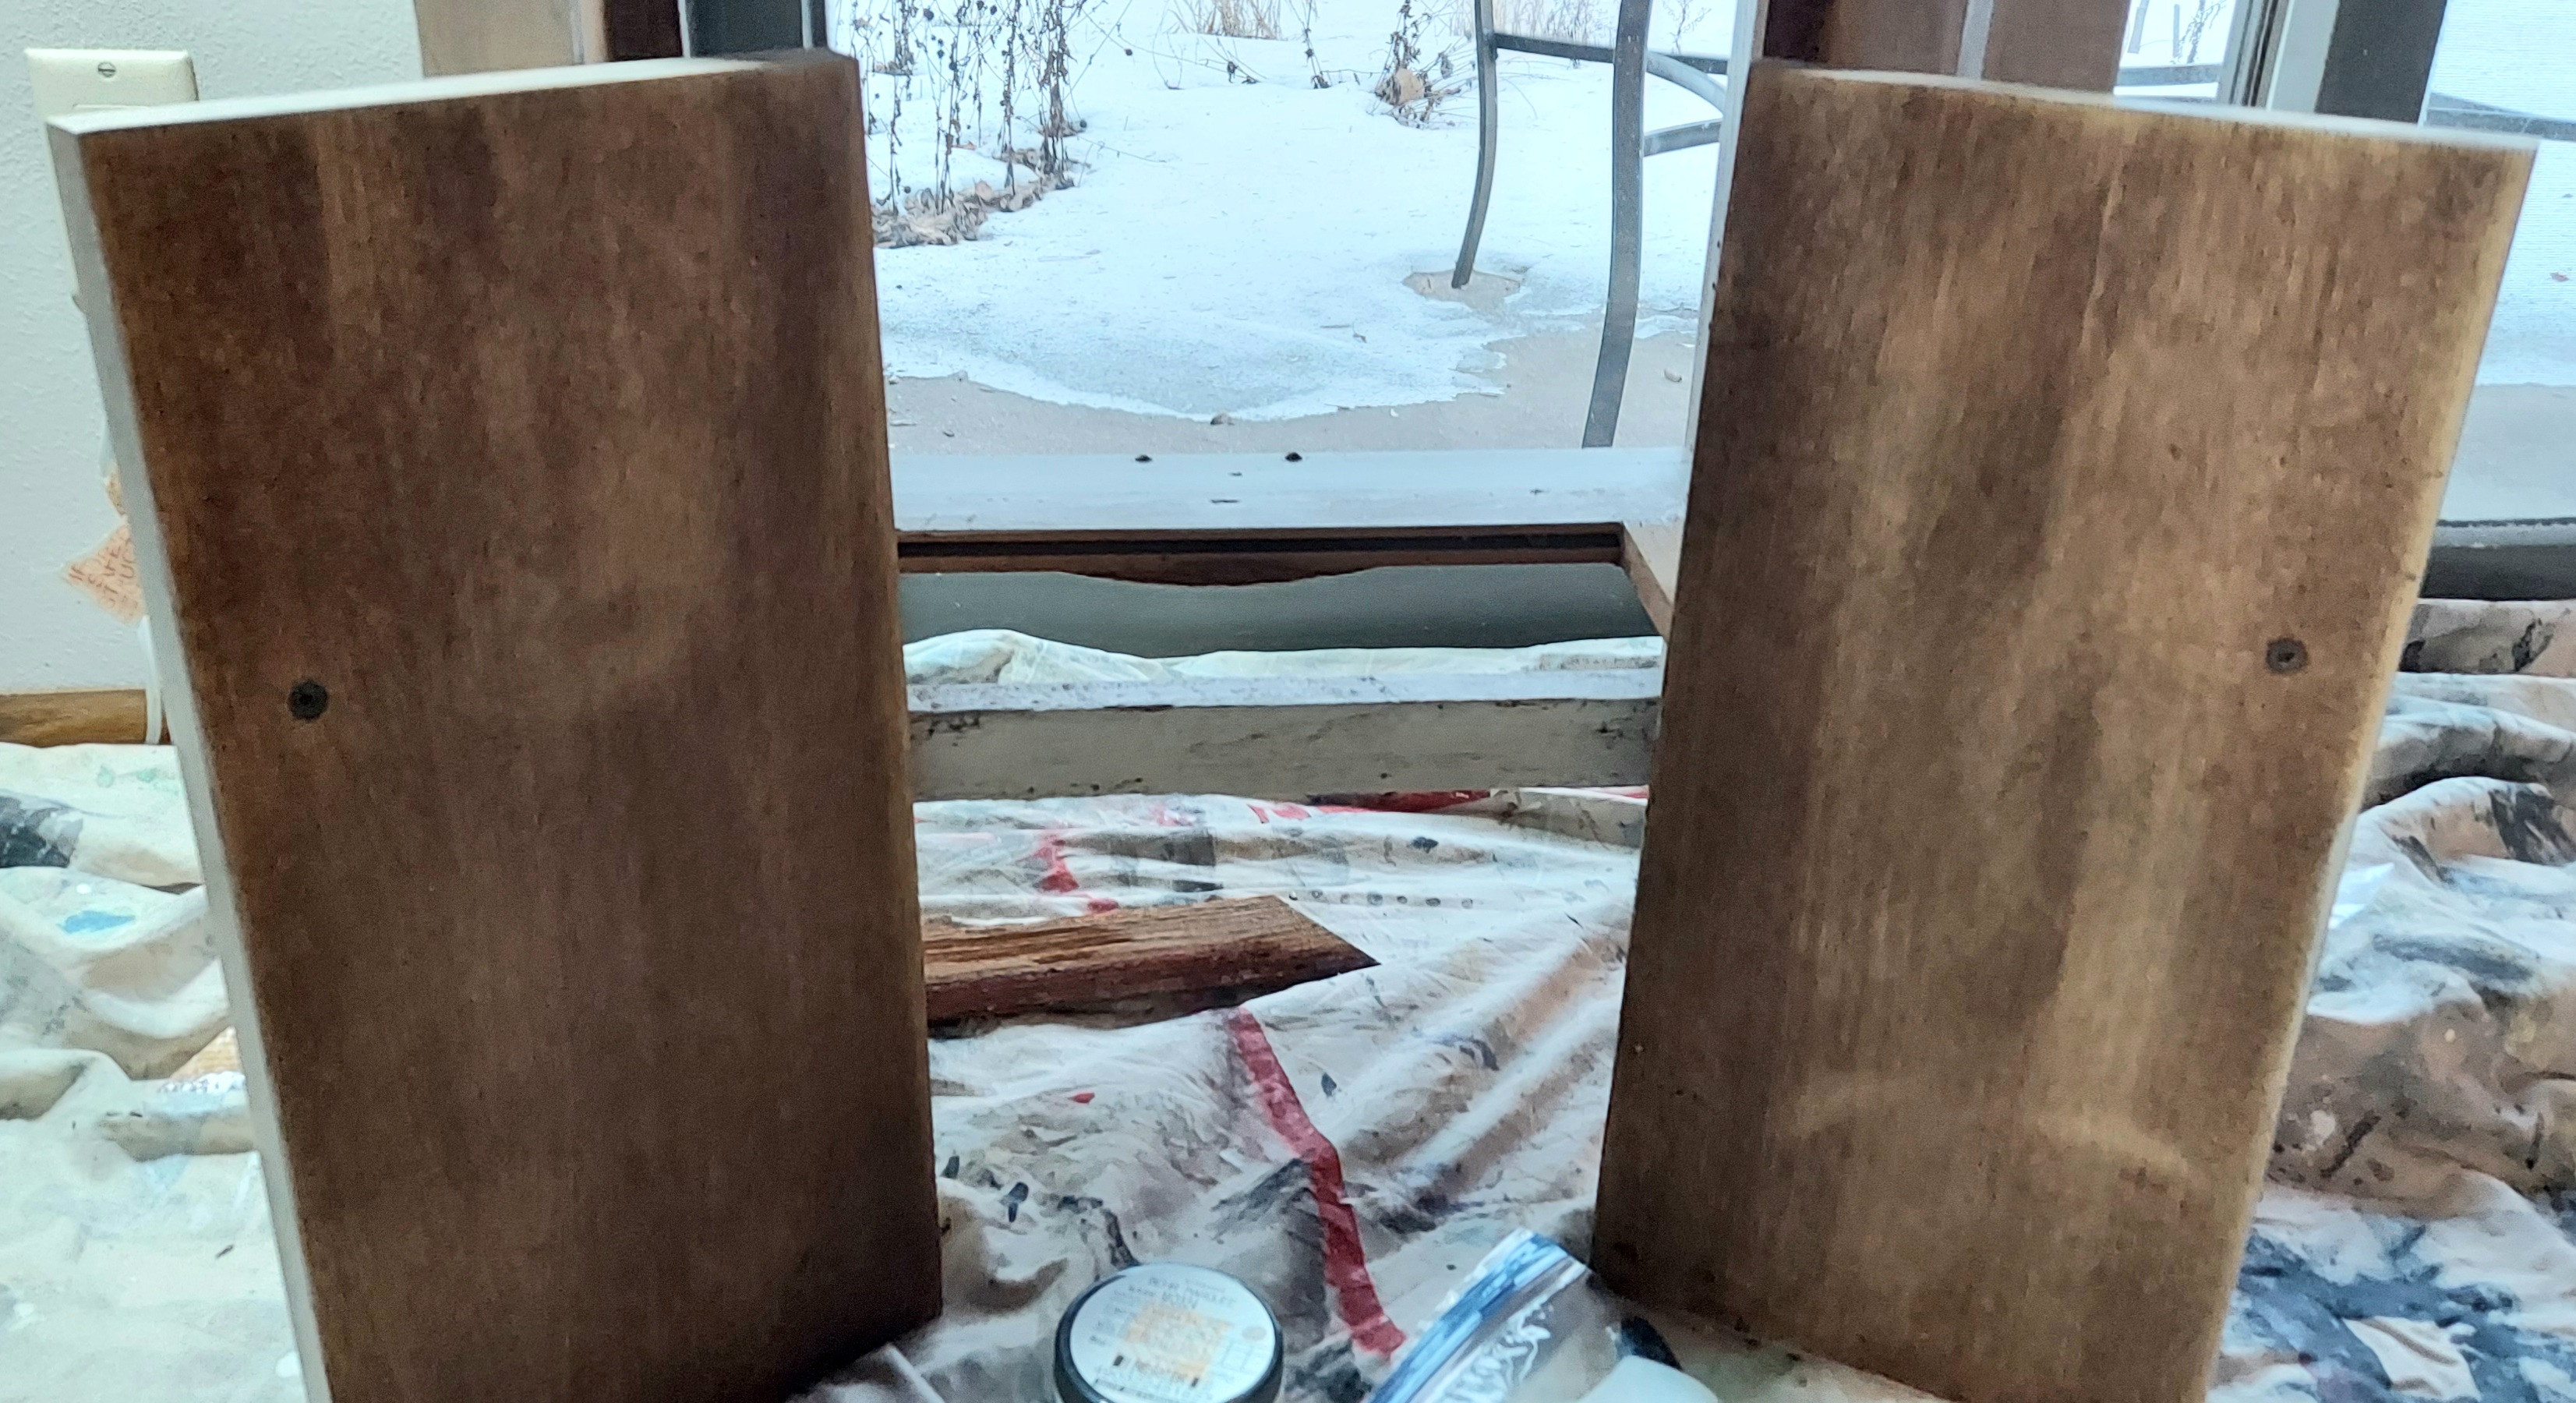

Pic on left would not have worked. I set them up how they’d be open, and put them together that way so that my print was going on correctly for the way I wanted to see the print when the doors open.
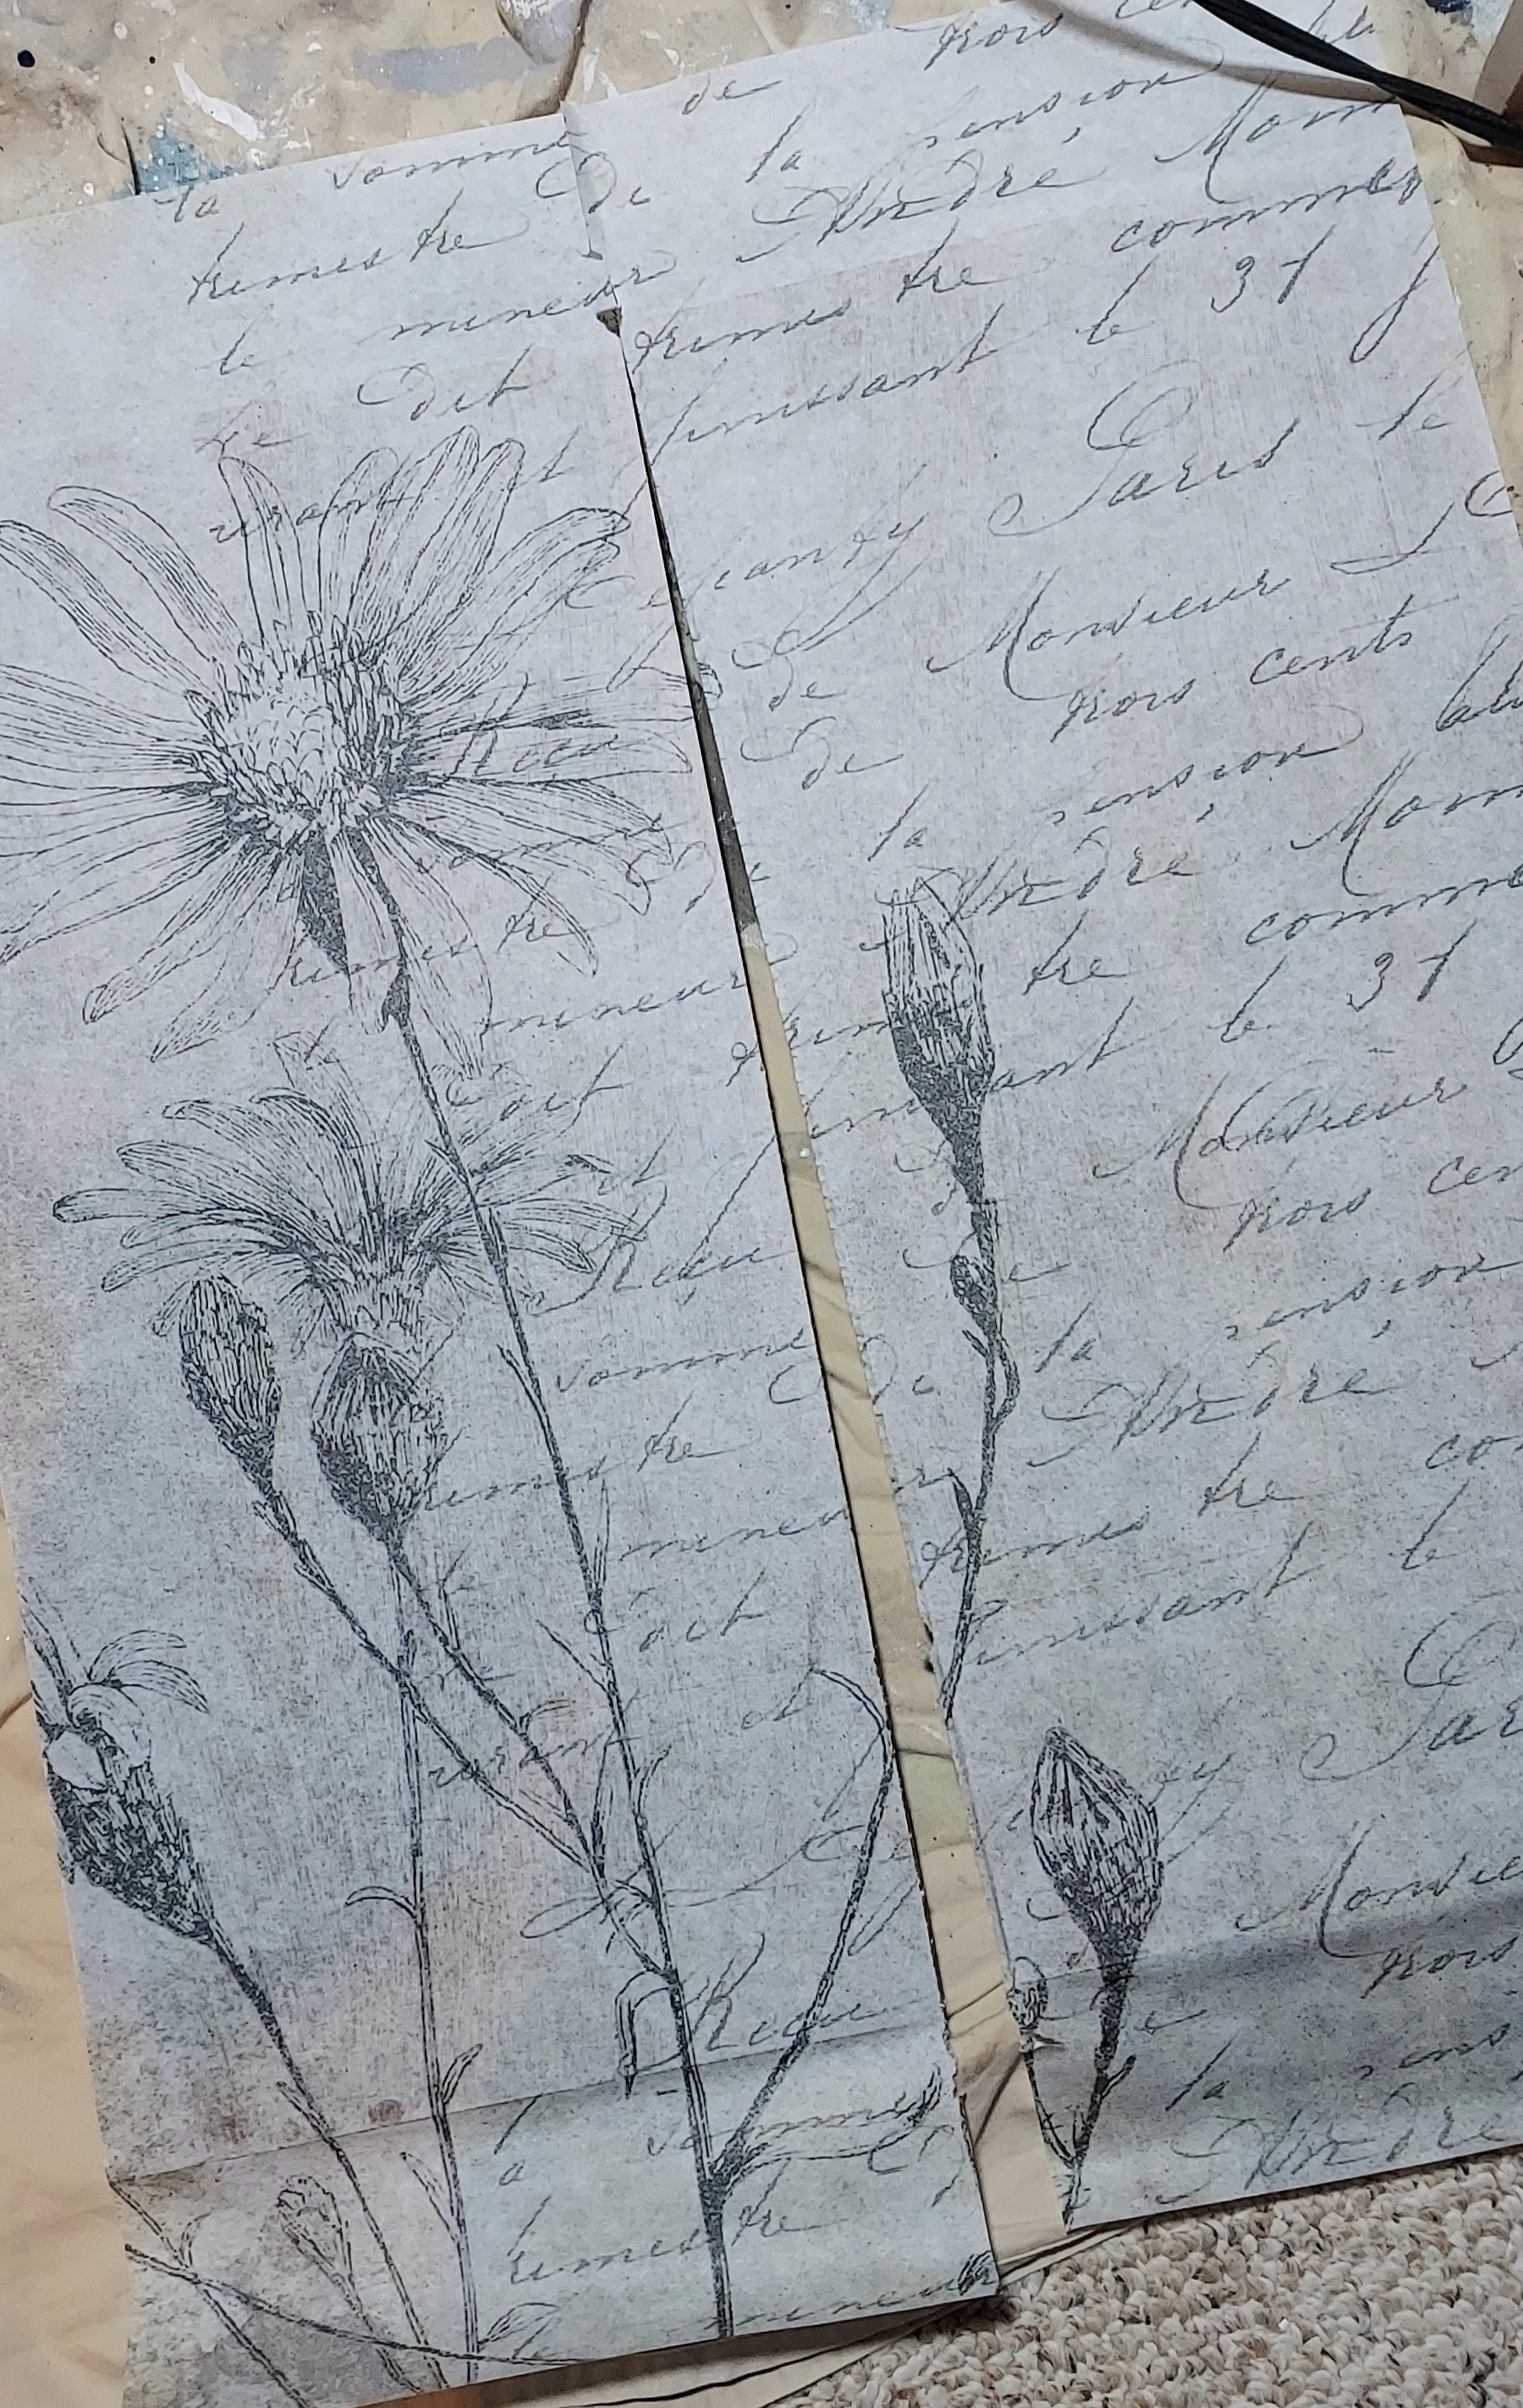
The easy part is that the sheet I chose was just large enough to cover both doors. This is called Wildflower Script by SalvageScapes and cost me less than $6. I ordered 2 sheets in case I made a mistake, so now I can use this somewhere else, too. It’s also 18lb, so a touch thicker than some other tissue papers.

Get Ready
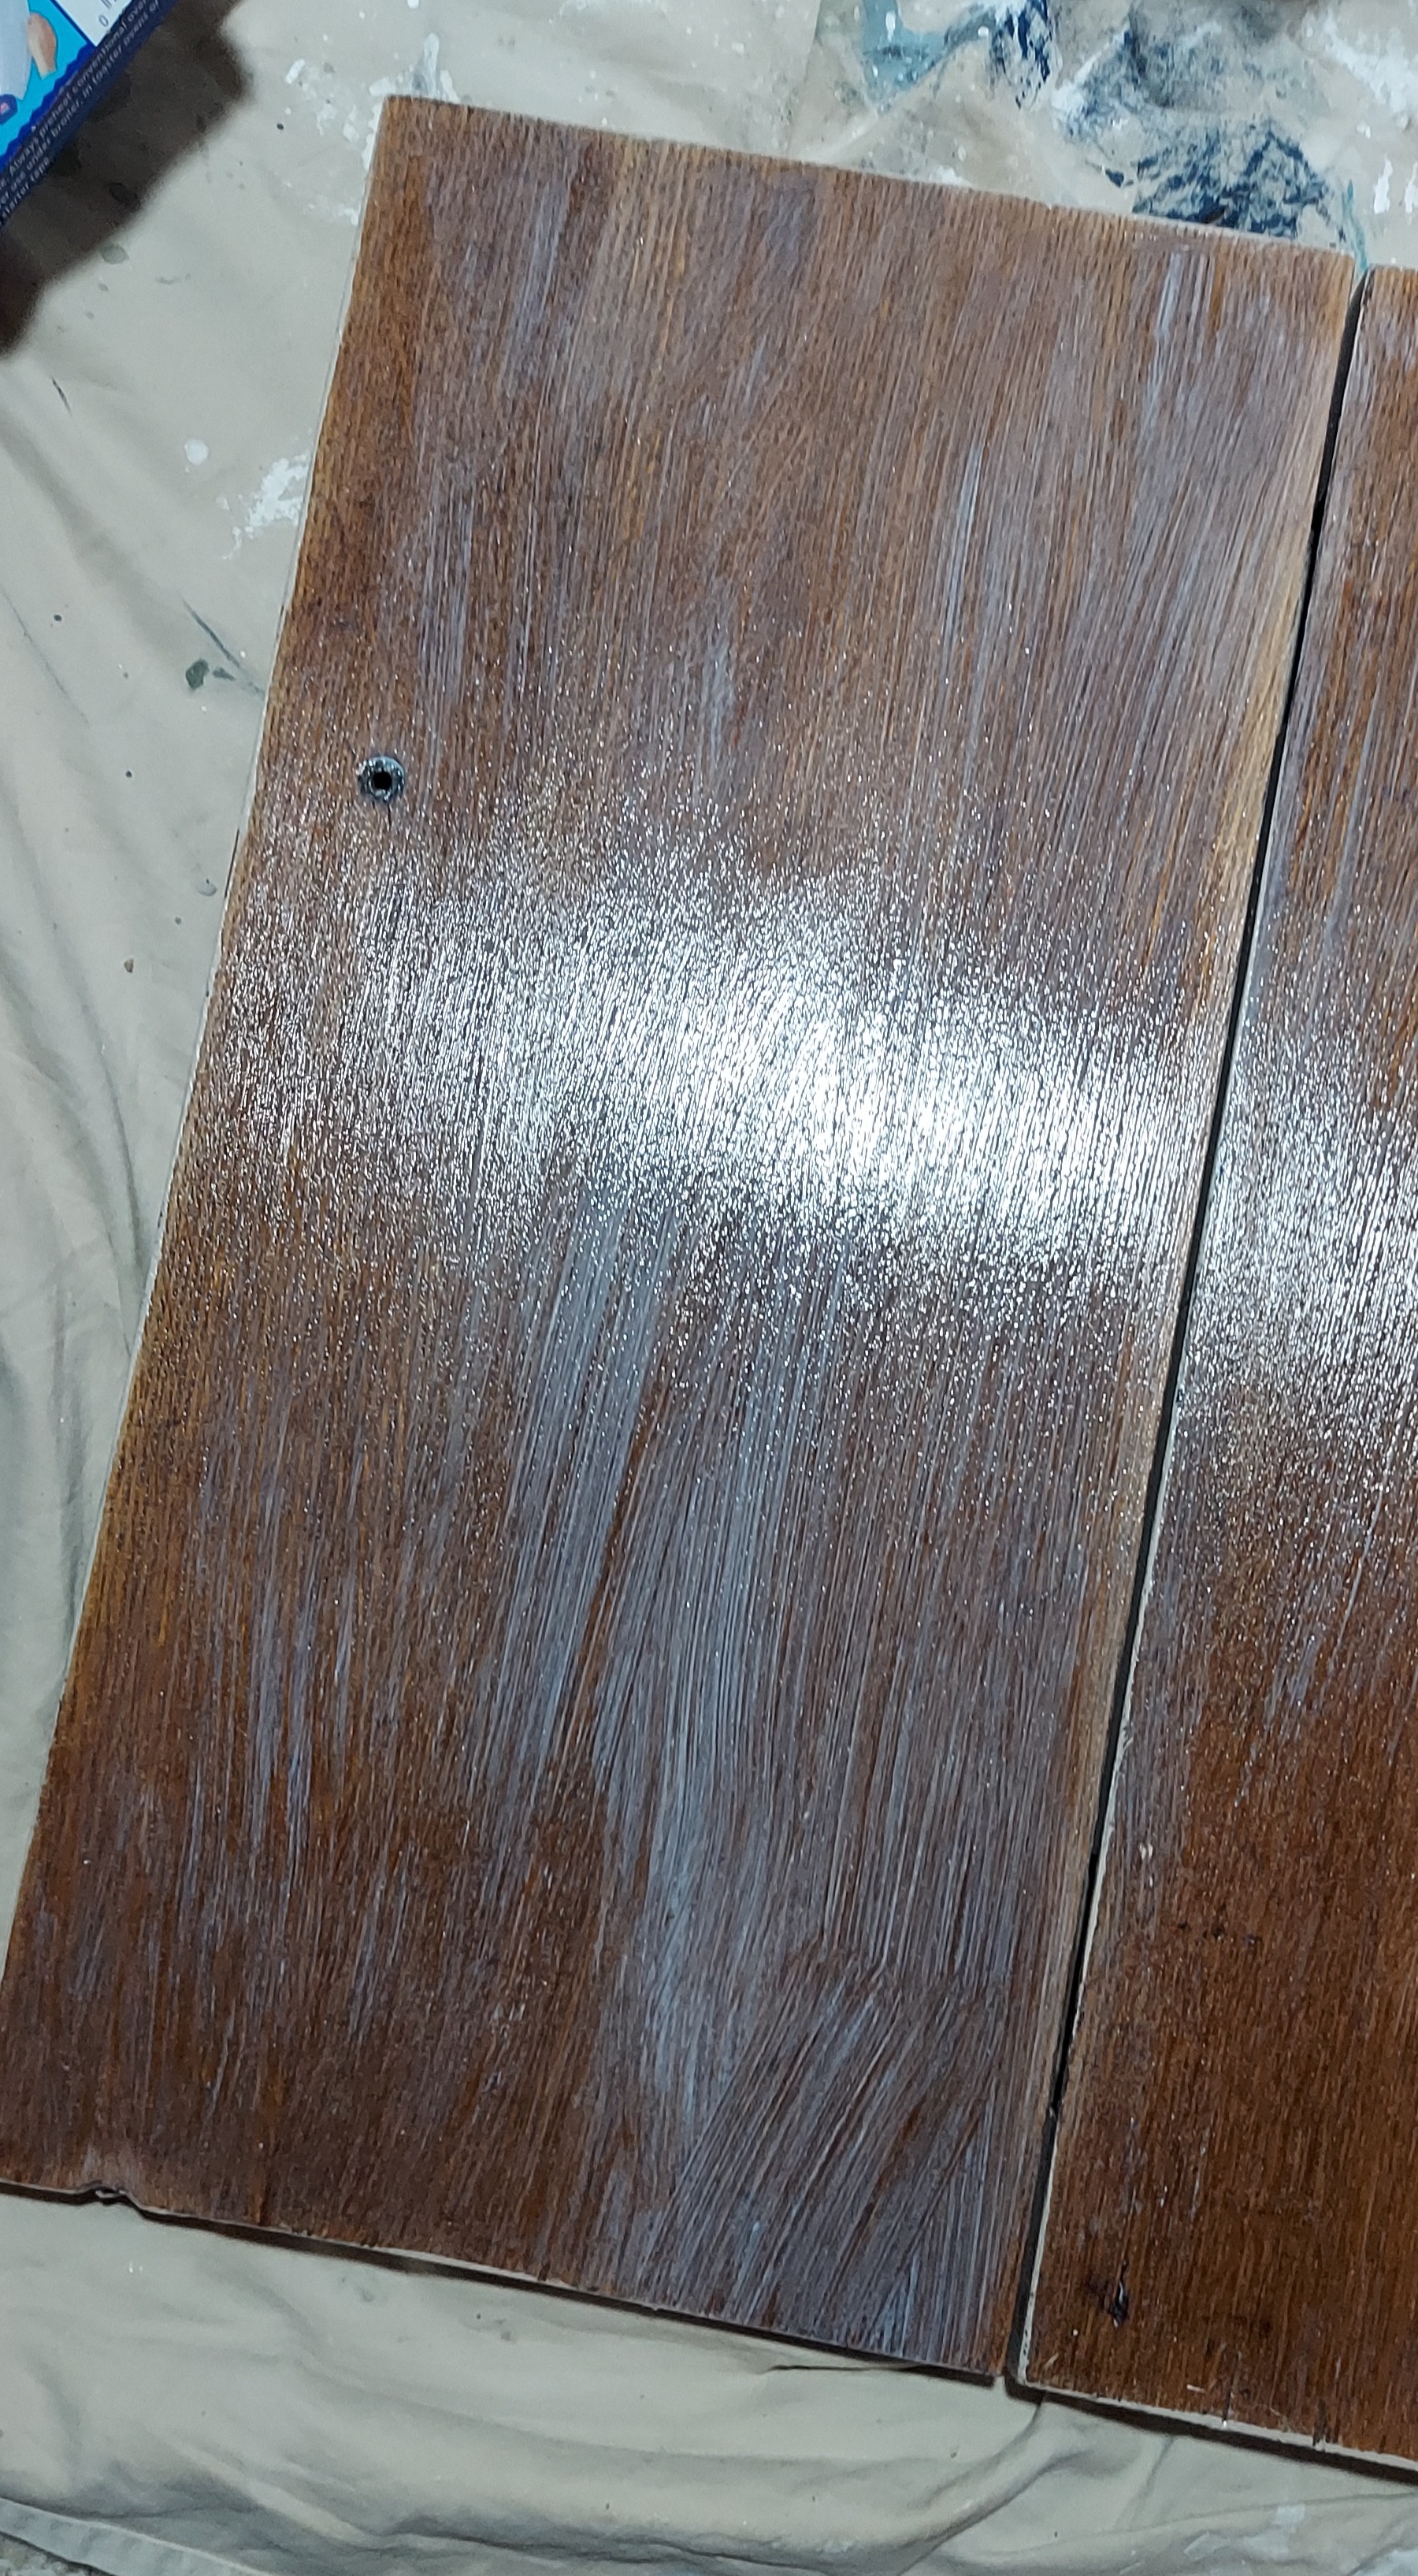
The next step was to add Mod Podge to the doors. The trick with this technique is to let it fully dry. I brushed the glue on before dinner and then watched a movie with the family. Just a few hours was enough. I use a chip brush for something like this.
BTW, if you want to watch an absolute Masterpiece, check out Disney’s Cruella. This is the fifth time we’ve watched it, and it is amazing every time.

Get It To Stick
To get the tissue paper to stick, it needs some heat to reactivate the Mod Podge glue. But to protect the tissue paper, you want to set down a big piece of parchment paper on top of it. Plus, you use your iron on the lowest setting. I went over it several times checking to see that it was staying down. And wrinkles in the paper from being folded came right out with the heat! It helps that these doors were a completely flat surface.


Smooth Sailing
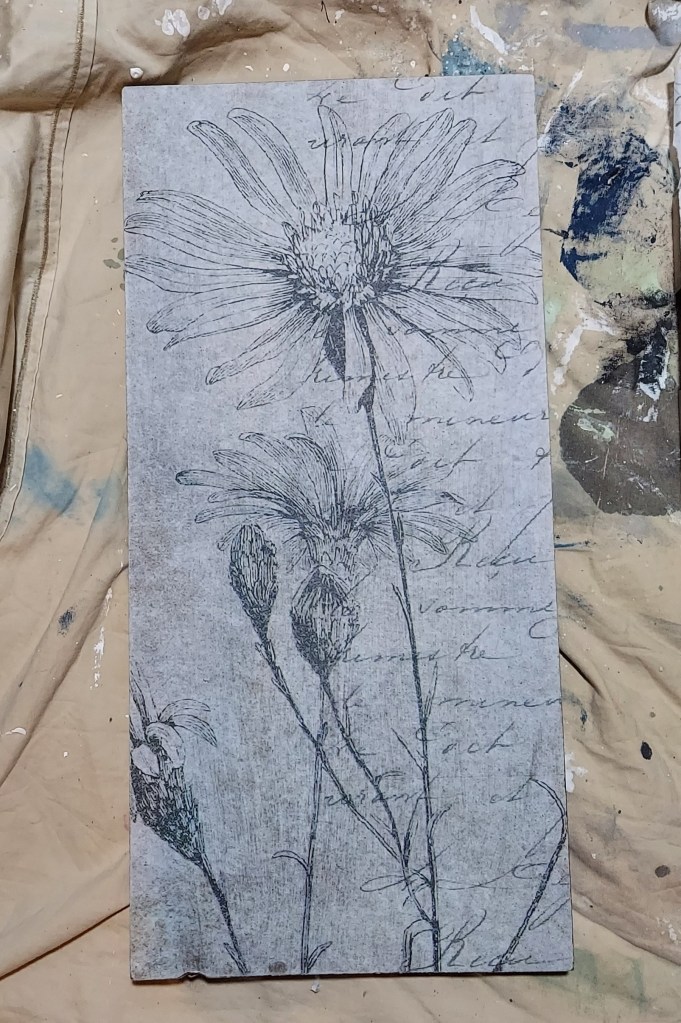
This technique worked so well! Once it was on, I sliced between the doors with a sharp scissors to separate my doors again. With just a touch of overhang on the edges, I swiped my sanding block down a few times, which easily separated the extra tissue paper on the ends and sides.

Pretty as a Picture
This is so pretty, I could see creating some artwork on extra scaps of wood with these!
This might be my new favorite thing to do! And I have 3 more designs to play with. Be sure to check back next week when I hope to share the OUTSIDE design of this little cabinet. Get ready for a surprise! It’s like nothing I’ve ever done before!
Get inspired,
Kellee
See what’s next! Subscribe to get future posts sent right to your email.


Copyright © 2022 Charm & Grit. All Rights Reserved.

2 thoughts on “Tissue Decoupage – This Works!”
Wow I love that tissue paper! It turned out beautifully! I have been following you for quite awhile and think you’re very talented!
And so flattered that you mentioned me, thank you so much! It’s great to share tips with each other💖🤗
LikeLike
I give credit where credit is due! 🙂 Thanks again for sharing how to do this. It made it so much easier! I so appreciate you following me, too.
LikeLike