
Sorry for the lack of a post last week – life needed my attention and I had to give myself some grace. I’ve learned that if I don’t do that, a blog like this can become a chore instead of what I want it to be – a Joy!
So let’s get back to some fun of furniture redesign. I’ve been working on a cabinet for my client’s bathroom remodel. I’m not sure if some people understand all the steps involved, but I thought I’d share some of the major ones today. For those of you newer to furniture redesign, it’s really best not to skip all the steps…even the small ones. You’ll have a much better end result to be proud of.
Great things are done by a series of small things brought together.
— Vincent van gogh
STEP 1 | Prep
Honestly, this might be the most important step. And there are lots of little steps within it. But you must prep your piece. Typically for me, this means sanding. Sometimes it’s just roughing up the smooth surface. Other times, it’s sanding down to bare wood. Either way, results are always better by sanding. You can remove scratches and dings from wear and age, and have a smooth surface to begin with. Paint goes on smooth when the surface is smooth!
STEP 2 | Repairs
Obviously, a solid piece that needs no repairs means less work for you. But with vintage furniture, it’s best to expect some repairs. This could be as extensive as filling in missing pieces and replacing a drawer bottom, or as simple as filling in a couple holes. With this cabinet, I had two particular repairs to the veneer. A split on the bottom needed regluing – very easy since the veneer was still intact. And on the side a piece had come off. Luckily, my client had saved it. Regluing a whole missing piece is much better than filling in with wood putty. You’ll have the same grain and surface to work with.

After this piece dried, I sanded it down to the same bare finish as the rest of the side. If you do need to fill any holes or missing parts with wood putty, this is my go-to. I love how easy it is to work with and it dries fairly fast.

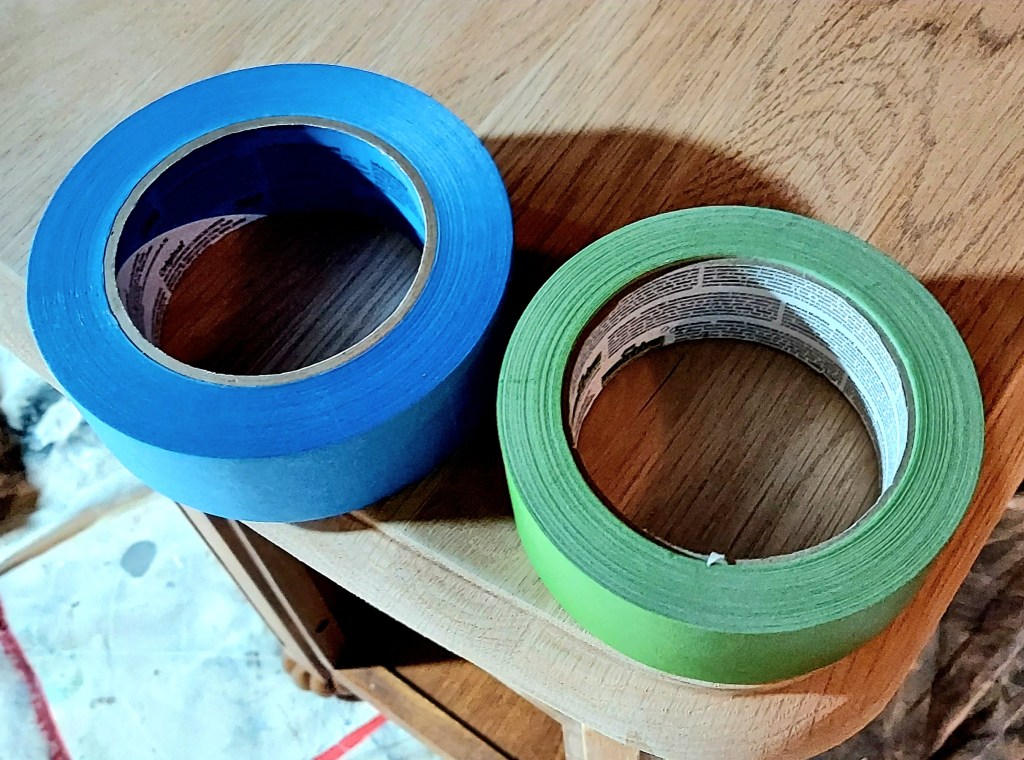
STEP 3 | Tape
One of those detail steps I like to take is taping off the interior areas so that when I paint, there is a nice crisp line inside. This is particularly important if your drawers go in far enough that you can see a bit of the lip on top and bottom of the drawer cavity. I have used both the blue painter’s tape and the green frog tape, but still don’t know which one works best. What do you say – blue or green? I just saw another artist’s video on sealing around the tape first, and I’m excited to give that a try. It’s awful when some of the paint comes off with the tape. And since I paint in multiple thin coats and let dry in between, this has happened to me more than once.
STEP 4 | Prime
Priming usually minimizes the number of coats you need to paint. But it’s especially important if you are painting bare wood. The tannins of the wood, and sometimes any leftover stain, can seep through your paint if it’s not blocked by a primer. This can be really frustrating when you work hard on a nice paint finish. I almost always prime. My go-to is Dixie Belle’s BOSS. I haven’t tried other products, only because I tend to keep using what’s working. If I have a slick surface that isn’t sanded down to the original wood, like MDF furniture (though I typically avoid this type), then I use Slick Stick. It sticks to smooth surfaces so that your paint can stick to it. I’ve found both of these products to be effective.

STEP 5 | Paint – Finally!
Do you see how long it can take to get to the good part? 🙂 One of furniture artists’ greatest frustration, I bet. But again, it can be so important to a quality finish. I like to paint in somewhat thin coats, and I use my water mister as I go. This can help avoid major brush strokes and have a smoother look. Paint also makes a difference. I am a Behr girl! It has never failed me, and the coverage is great. I recently tried another well-known brand, but it took so many more coats for full coverage and was rather thick to work with. I think it might be great for walls, but not for furniture. At least for me.

STEP 6 | Sand
Sorry, not totally done with sanding! It can help to sand your painted sections in between coats. A fine grit will do – I typically use 320. And sometimes will follow with 800. This can also help you find any paint drips you might need to remove. I might scrape off a drip with a screwdriver, sand, and then paint again.
STEP 7 | Flip it
This means flip it over! You want to see what the underside looks like, too. I like to paint the base edges so that the color is fully seen, even if someone is playing checkers on the floor. Also, if your piece has intricate legs or feet, you will always catch a missed spot if you flip it over. Think about this – when your client hauls it into a vehicle, they’re likely to see that underside, too.
STEP 8 | Hardware
When you like and can save the original hardware, it will cut down on more steps for you. If you decide to replace the hardware, you’ll likely need to do some hole filling and drilling new holes for new hardware. Both are things you can easily handle, so don’t hesitate to change hardware if it fits your design vision! For this cabinet, we wanted to use the original hardware, but paint the wood part to match the cabinet. The interesting thing about these knobs is that they looked to have a metal center. In reality, these are solid wood with the center just painted in gold. You never know what you’re going to come across with vintage items.

STEP 9 | Seal
To be honest, this is my least favorite step. Especially when my final paint finish looks awesome. But, whenever you touch your painted surface, you might notice fingerprints and it can still get scratched. So a topcoat is needed to avoid these things when your piece is finally ready for use. I might do a single coat on pieces that won’t be touched often, but I always to 2 or 3 coats on the top where home decor and other items might be set. General Finishes has been my best topcoat so far, and I’m partial to the Flat Out Flat right now. I find any shiny finish (Satin or Gloss) is hard to get completely even, especially on large areas. I’m not a fan of shine anyway.
Here’s the big tip for topcoat. Pour some in a separate container and mix some of your paint into it. This can help with what I call a ghosting appearance from the topcoat on top of your painted surface, especially with dark colors. And yes, butter tubs come in handy for mixing.

STEP 10 | Assemble
Finally, the best part. Putting it all together and seeing your finished work. Just be sure to let everything dry a good 24 hours before. Now I would never admit to impatience and putting on some hardware as soon as something’s dry to the touch. No, not me. 🙂 Just remember (and let your client know) that it can take several days for paint products to completely cure, which means harden and have the best protection.
I can’t share the finished cabinet just yet – need to reveal its makeover to my client first. But I’ll remember to share in a future post so you can see it all come together.
I wish you happy painting! I hope these steps are helpful to you as you work on your next project. Do you have a favorite? Do you have a nemesis? My nemesis is BY FAR the sealing step! I have yet to find the perfect product to make this easy. I really should look into those paints that don’t require this last step at all. Maybe some day!
Find your Joy,
Kellee
See what’s next! Subscribe to get future posts sent right to your email.


Copyright © 2022 Charm & Grit. All Rights Reserved.
