
I bet you or someone you know is looking at their old, wood dining set and thinking, I wish I could get a new dining table and chairs! Then you go to the furniture stores or online and end up saying, Well I can live with this another year or two.
Rather than replacing them, have you ever considered re-designing them? Solid wood table and chairs are not cheap. I bet yours are still in great shape, too. Even if they’re not, there’s a way to make them look like new again. And that’s with paint!
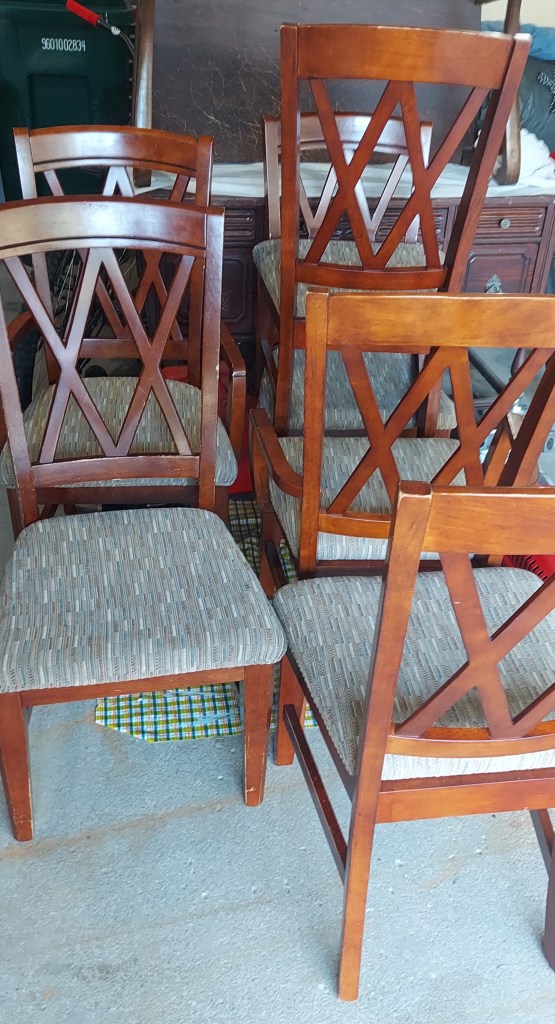
Tackling chairs can be a big job – it helps to take it one step at a time, so here I’ll break down what I did.
- Remove the seats. Typically, the upholstered seats are screwed into the chair frame from the bottom, so it’s easy to separate the two.
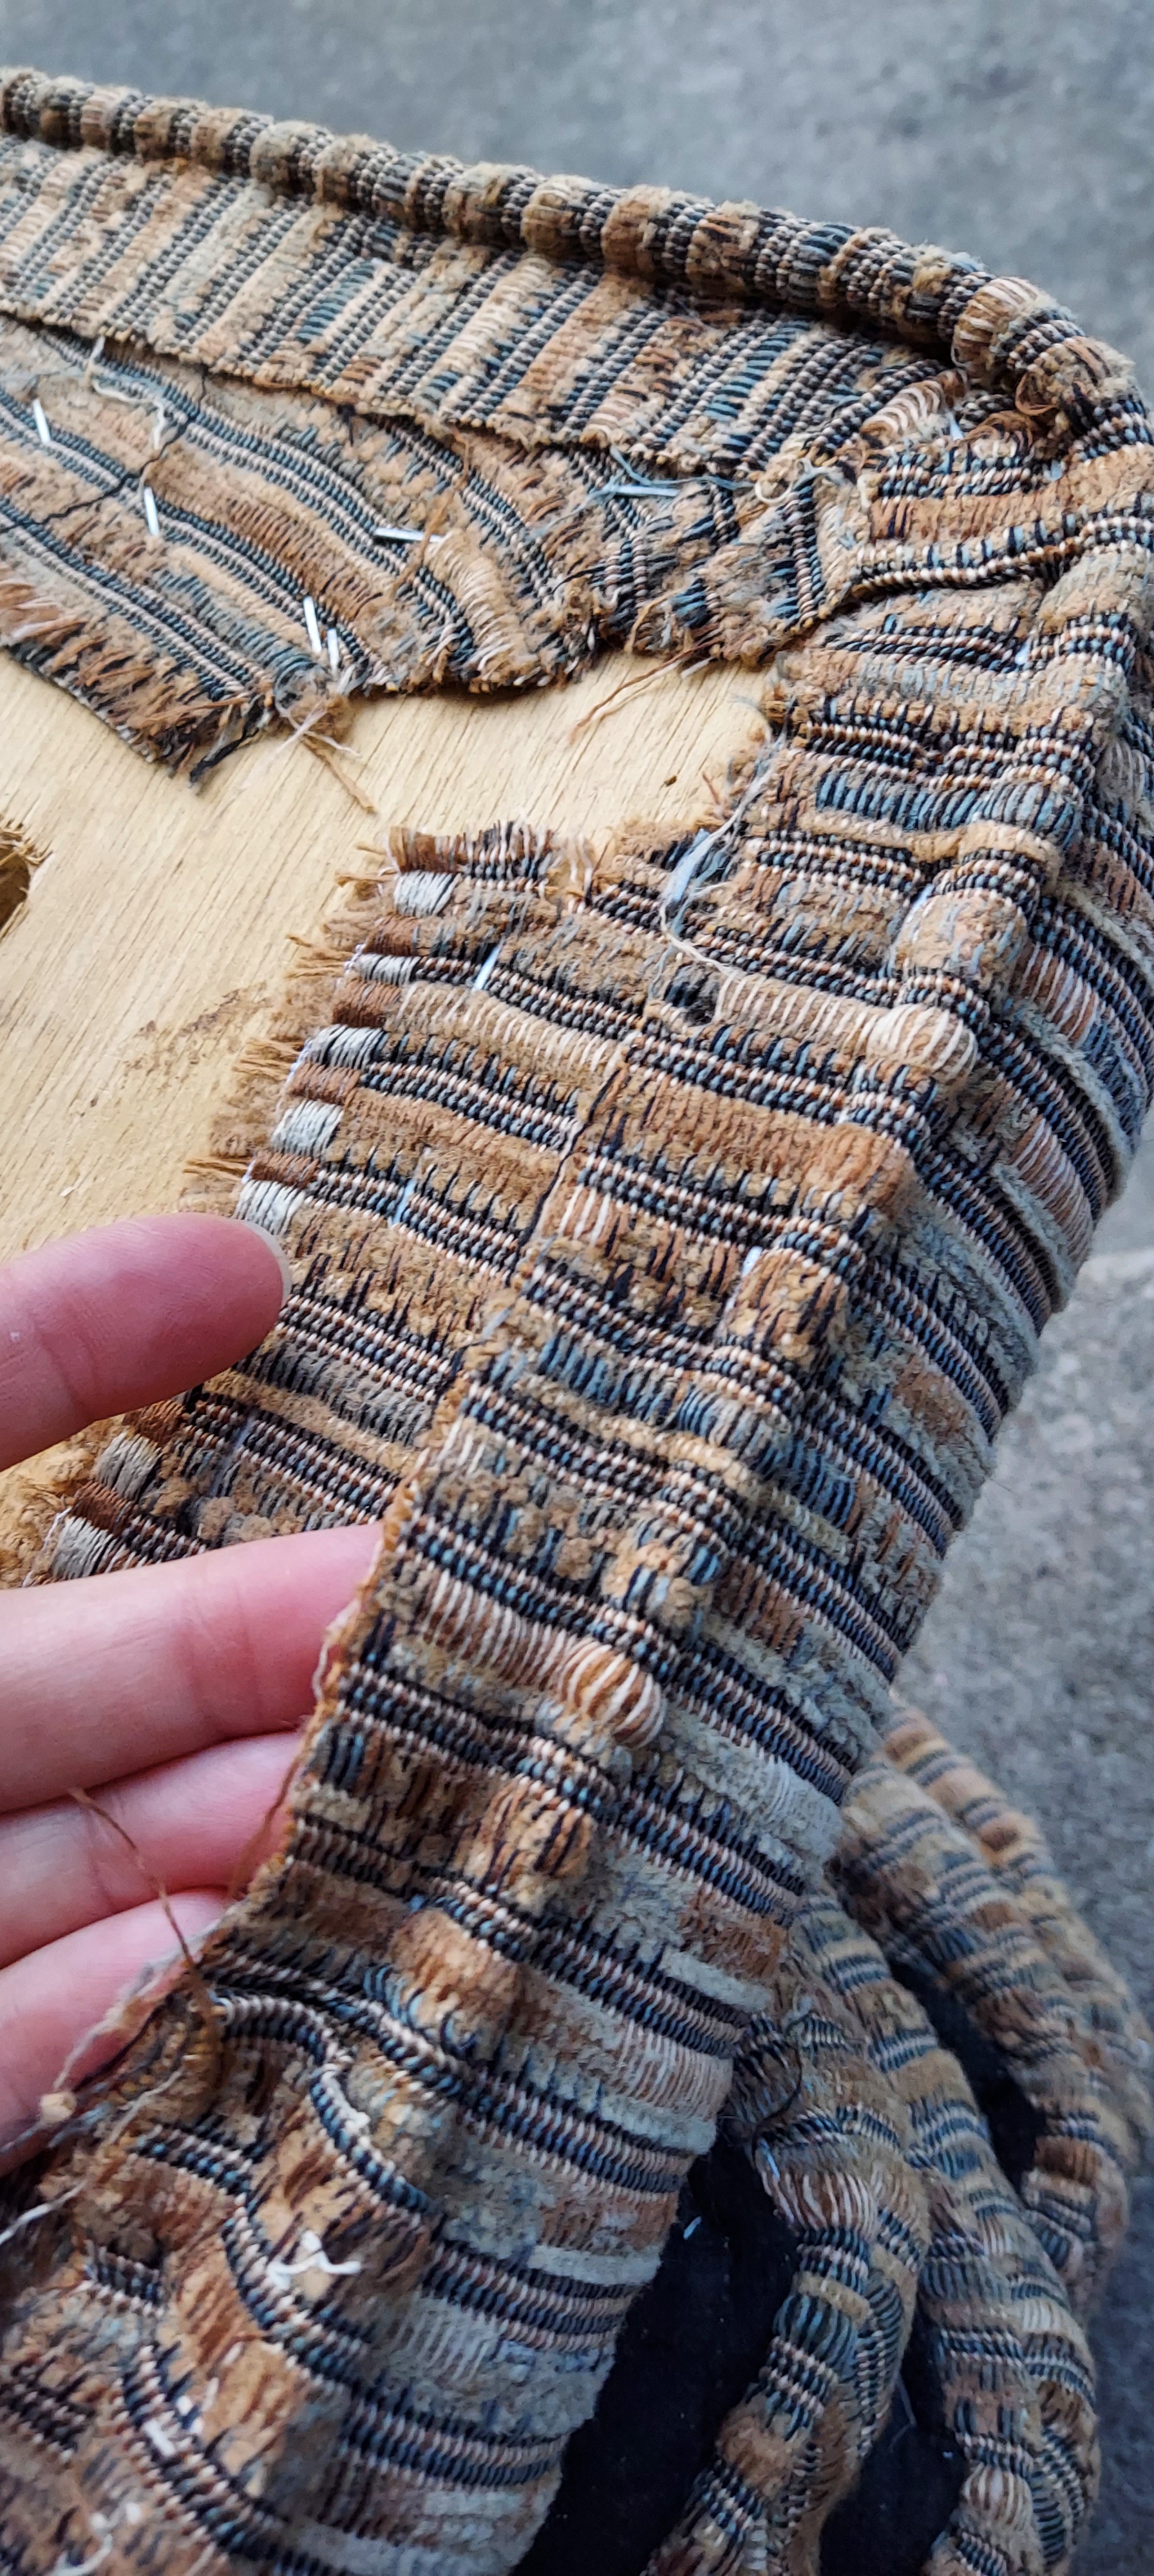
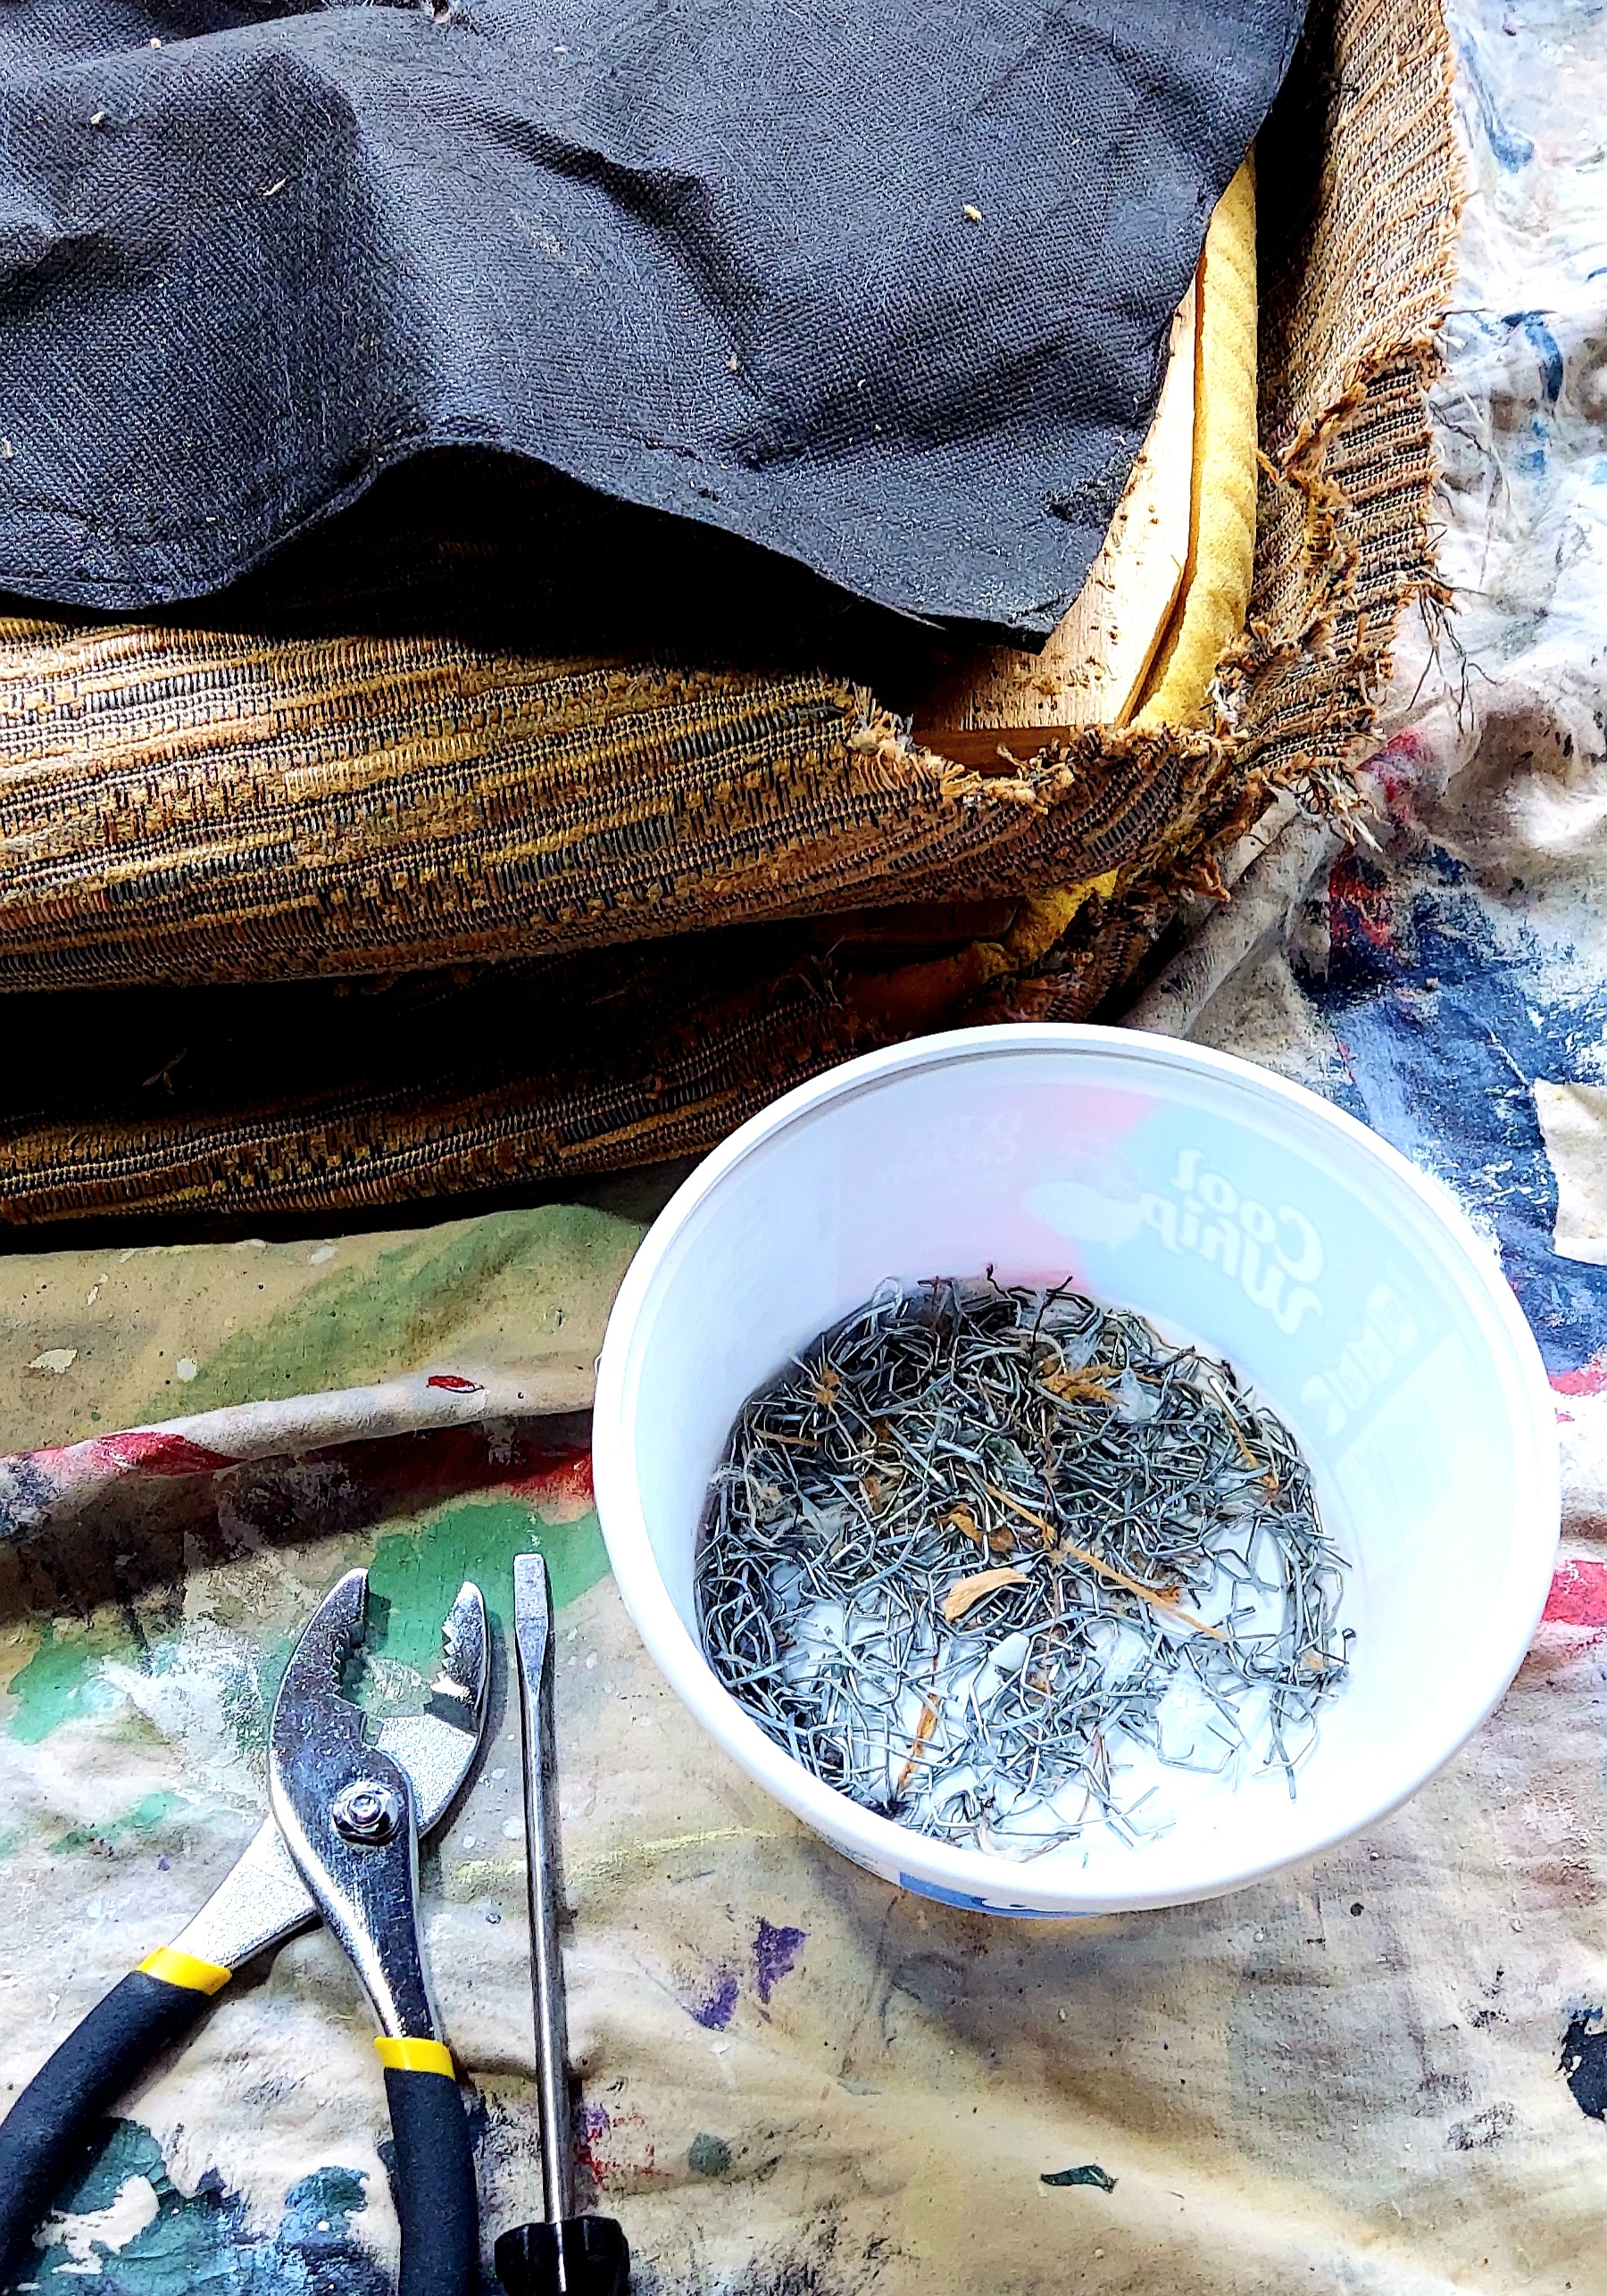
- Remove the old upholstery. My client definitely wanted to replace the fabric (don’t blame her!) to better match her new decor. This step might be the one that requires the most patience. REMOVING STAPLES is not the most fun thing to do and can be tough on your hands. I gave myself plenty of breaks, working on all 6 chairs over a period of 3 days.
One thing I wasn’t expecting was the piping to be its own separate layer and with its own set of staples! This part takes perseverance and grit, for sure! Finally, all the staples were removed.

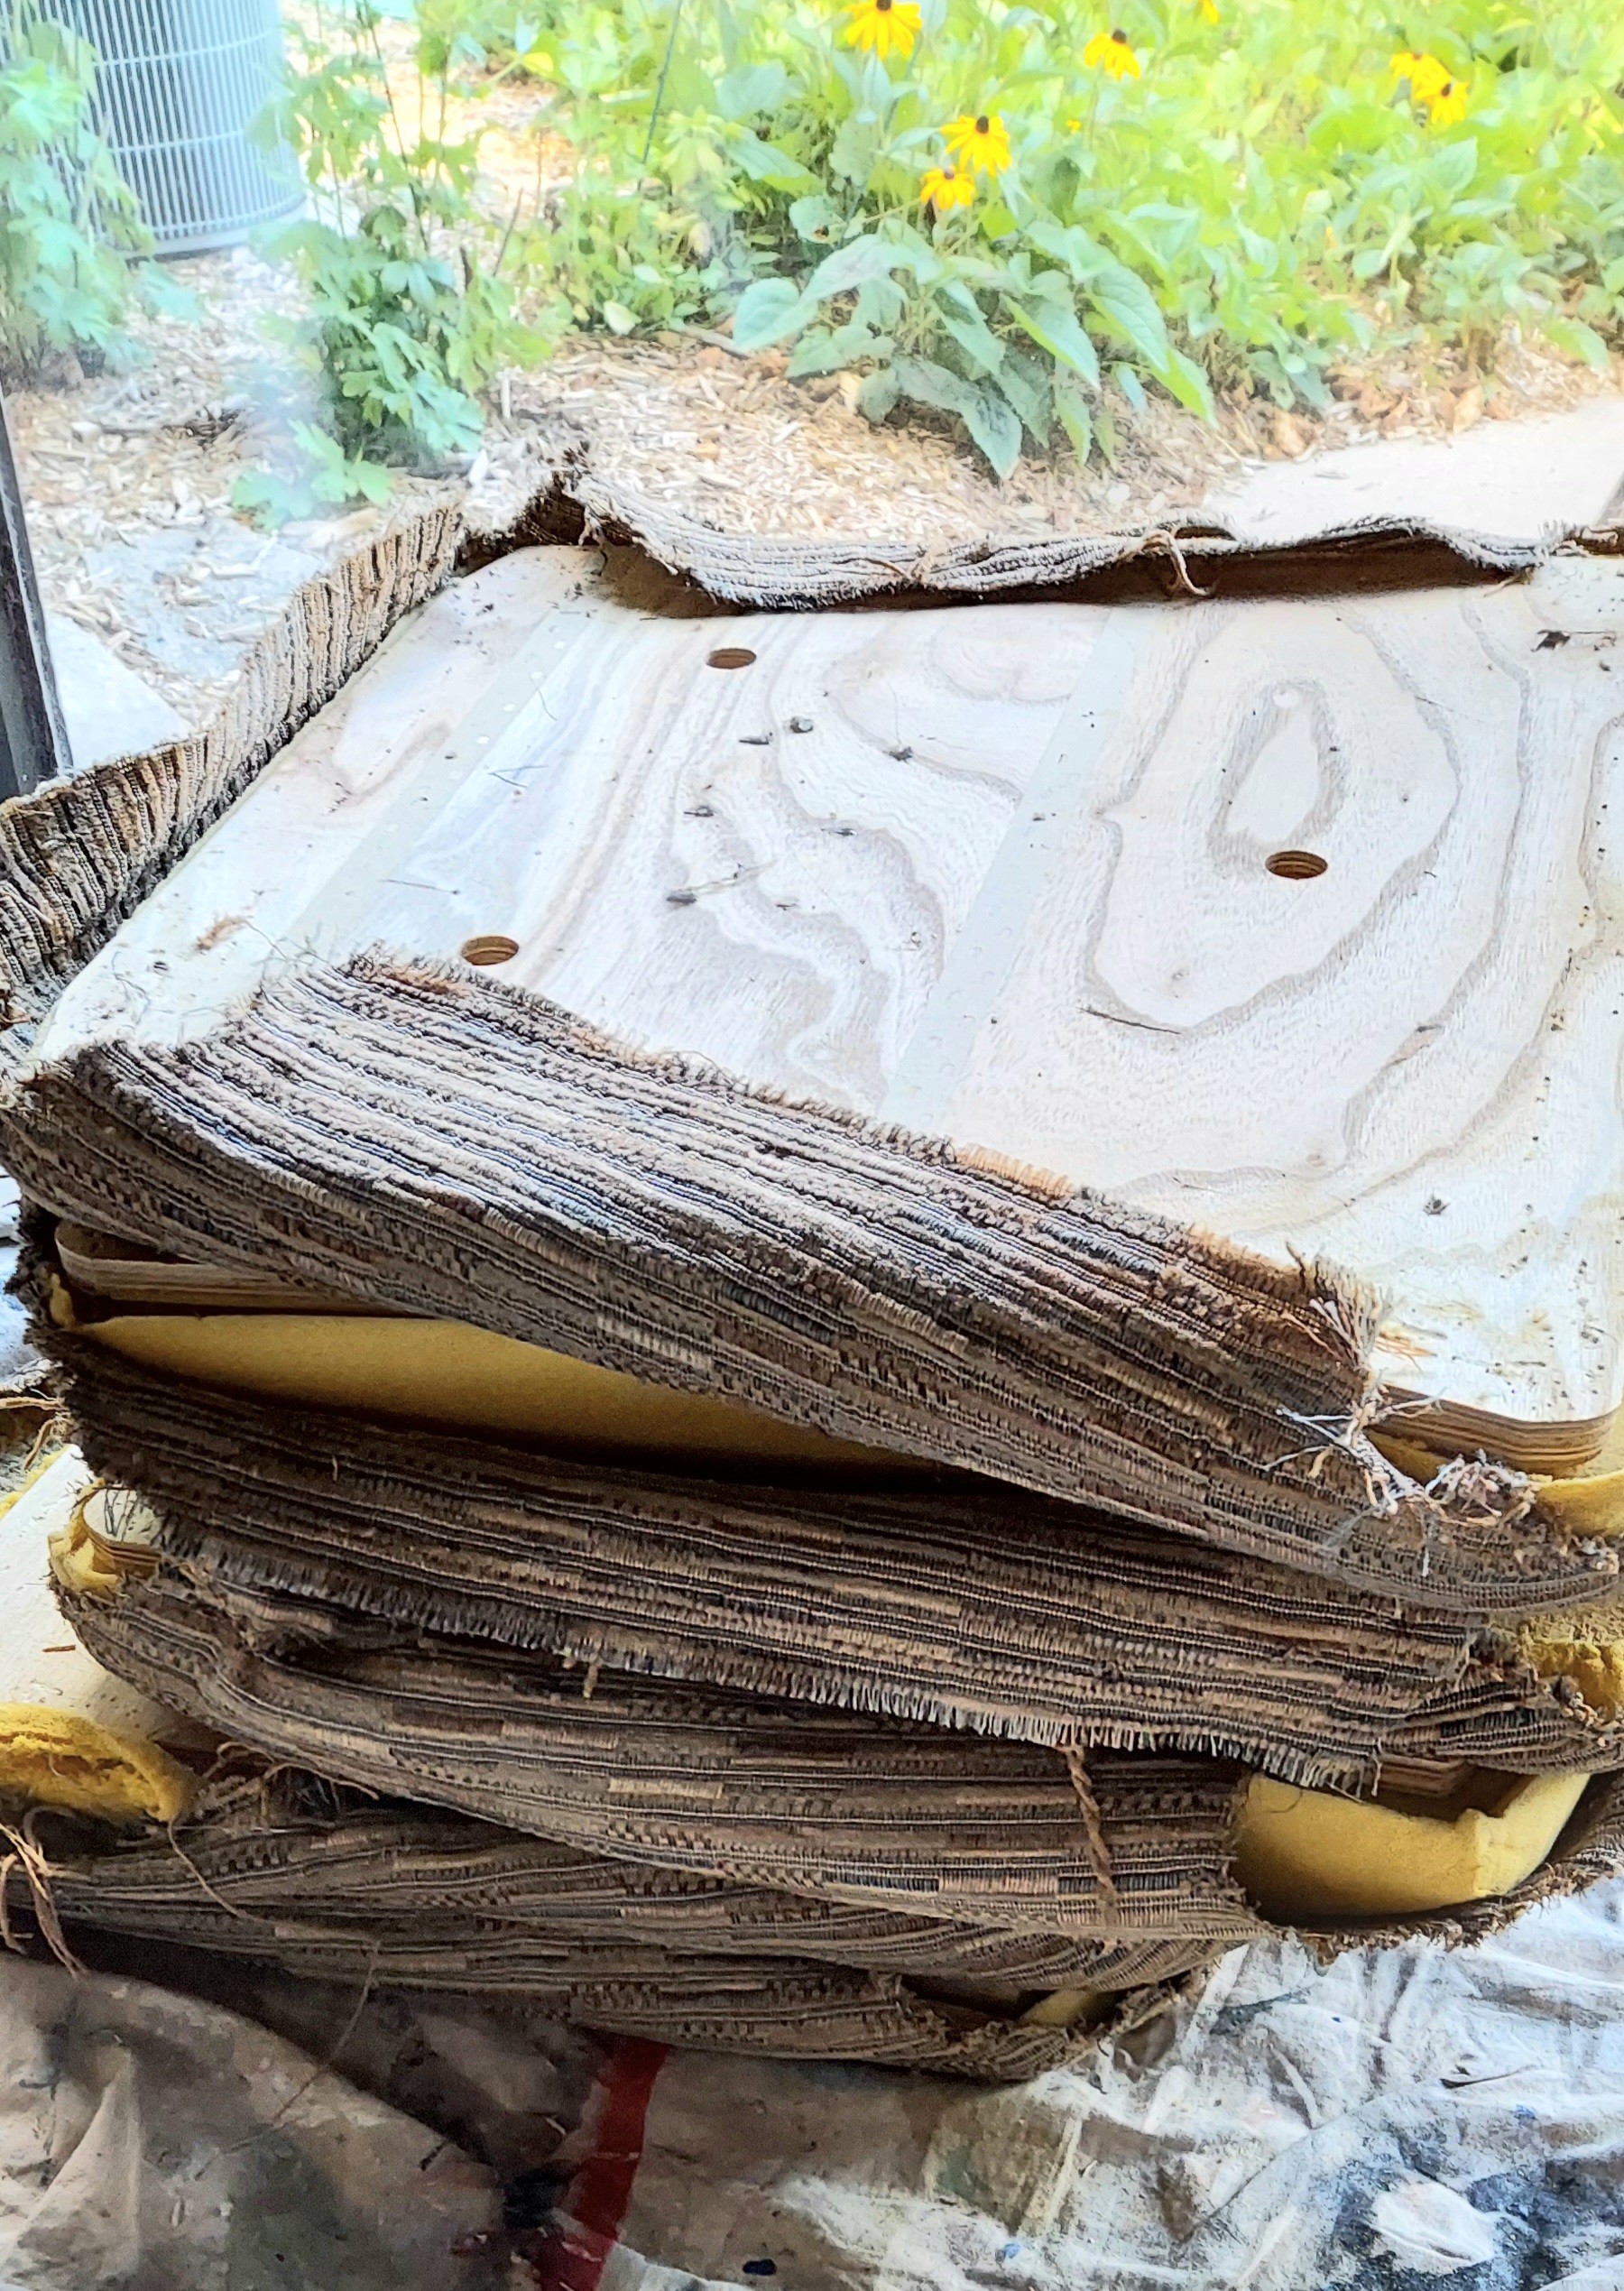
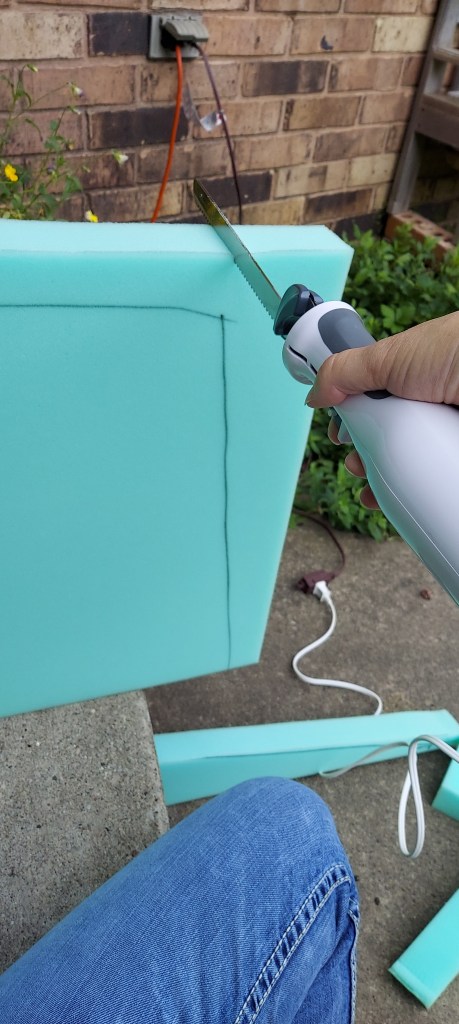
3. Replace the foam. Some of the seats’ foam were really worn out, so we decided to replace all of them with fresh foam. More cush for the tush! I traced the wood bottoms onto the foam. The EASIEST way to cut foam is to use an electric carving knife. Plus, it’s finally taken out of the drawer for more than just Thanksgiving. Your knife will be so relieved!
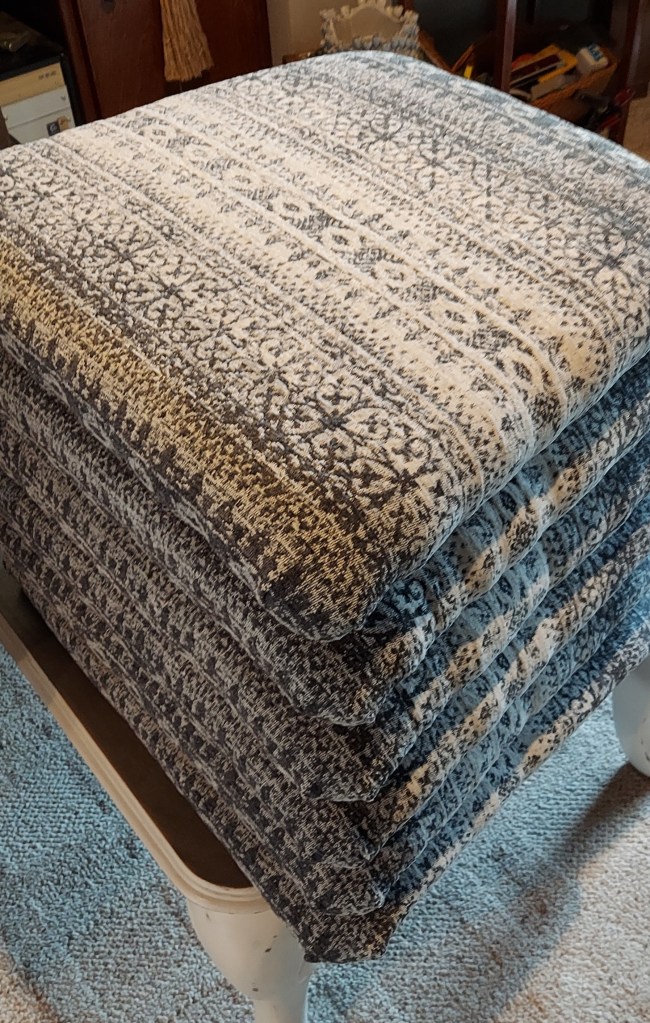
4. Reupholster the seats. Replace the fabric and adhere it to the seats with staples. I forgot pics during this part. Let’s just say, you should get fairly sturdy staples to get through all the fabric, especially tapestry. I used simple corner folds instead of incorporating fancy piping this time.

5. Time to sand. It’s important to get off that shiny surface. I chose to sand a little further than that to remove as many dings and scratches as I could – knowing I would be painting in one solid color – black!
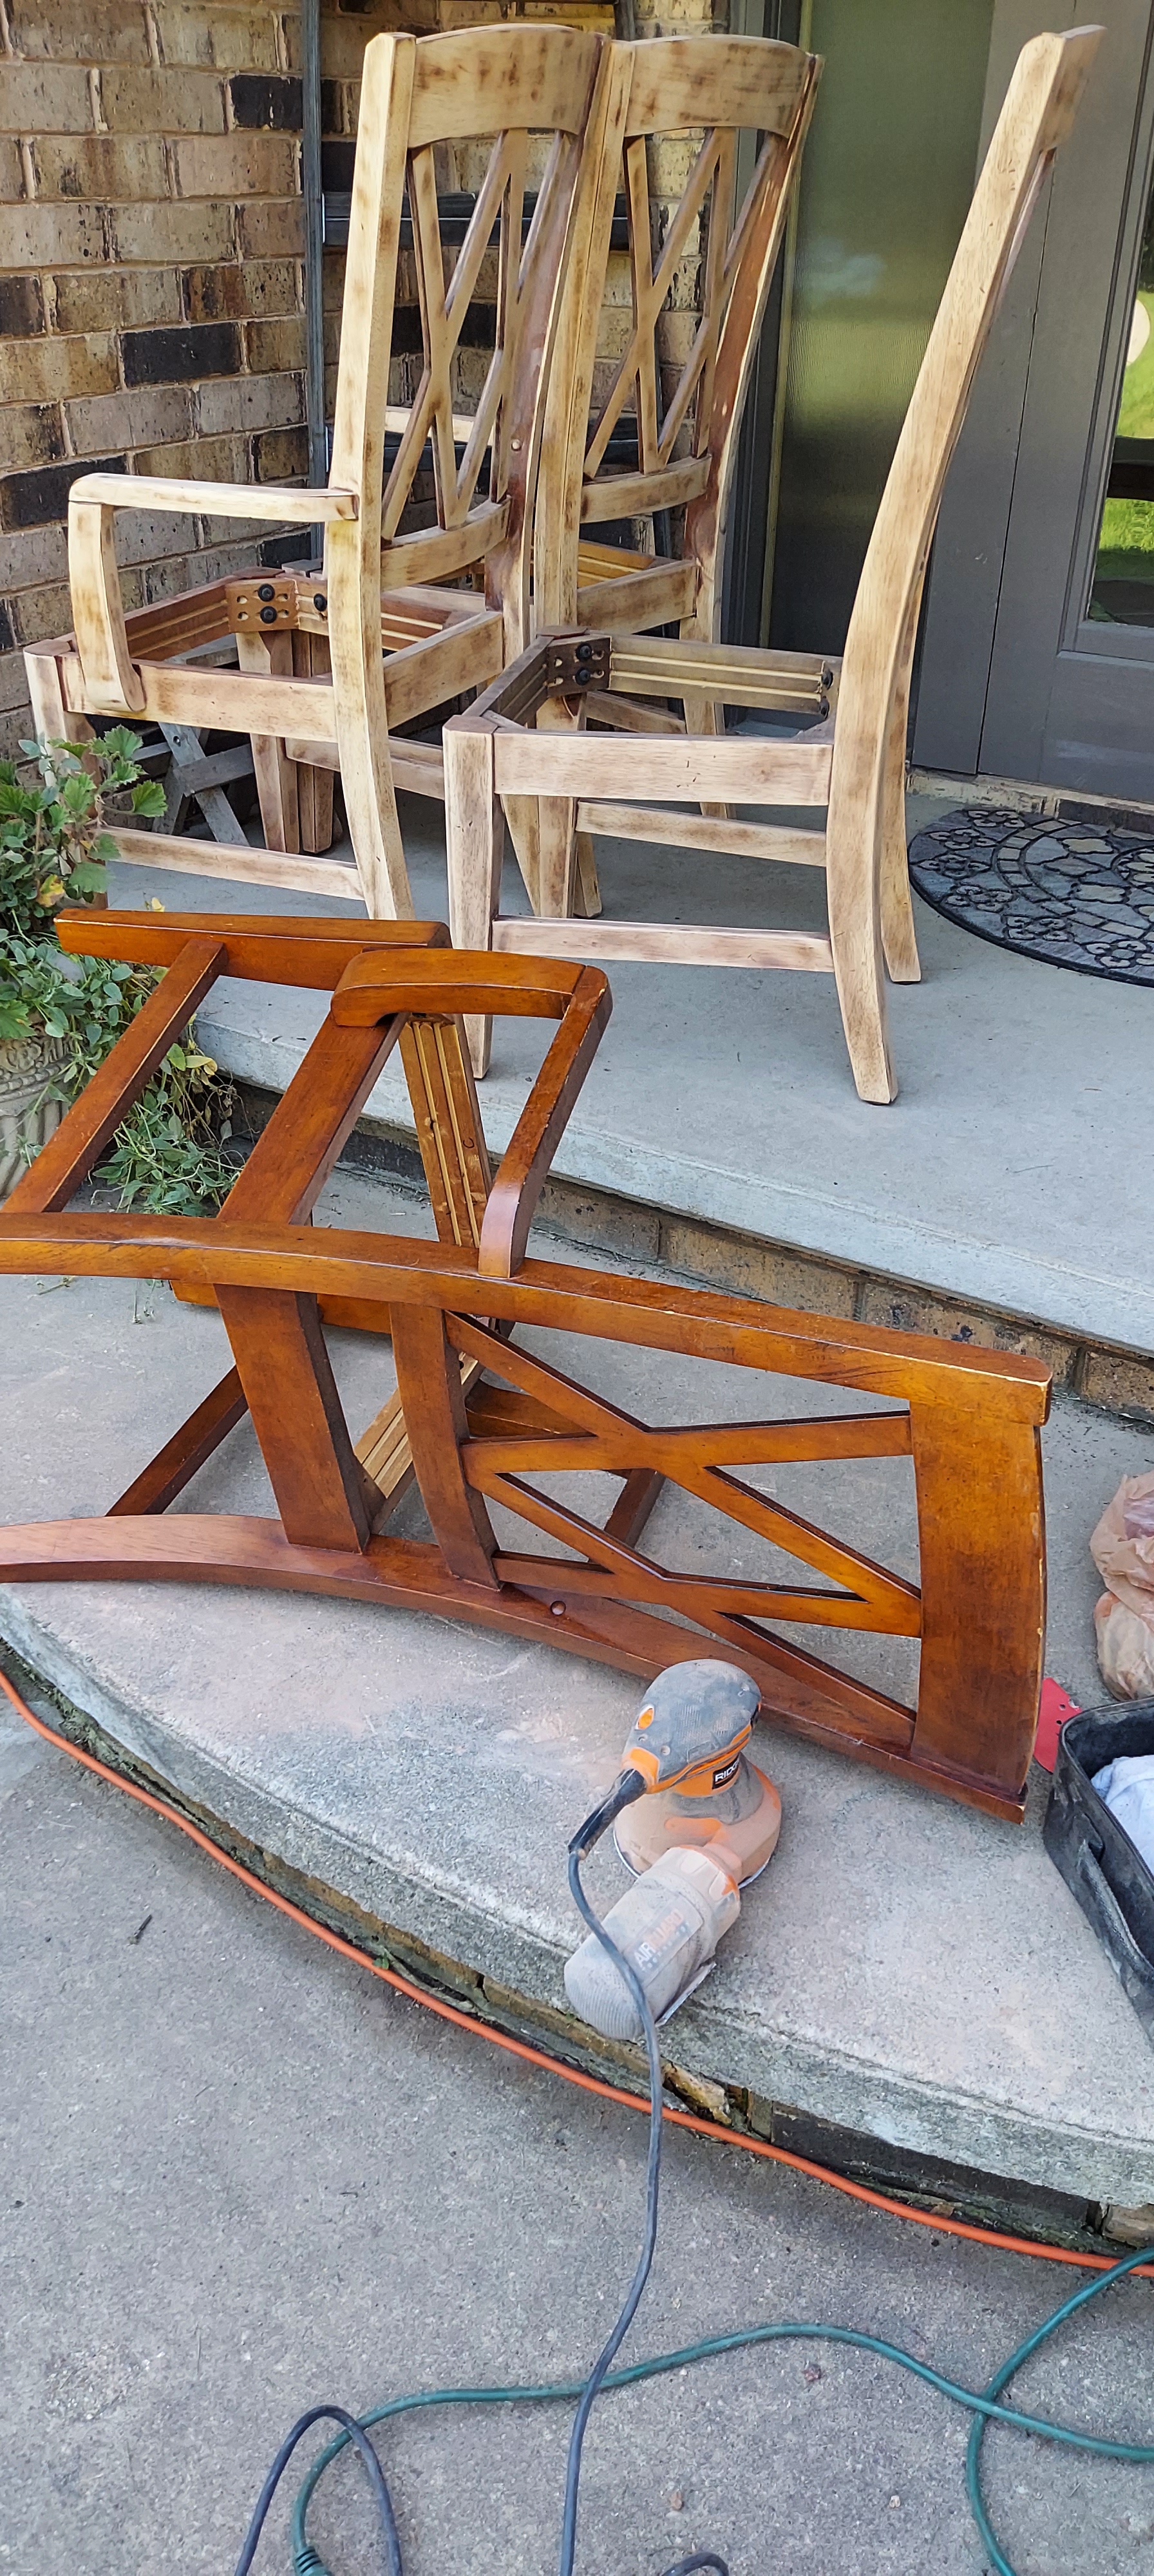

7. Paint | sand | mist | repeat 3-4 times. I like to paint in thin coats and use a fine mist sprayer to water the surface a bit. This helps the paint go on smoother and level out as it dries. I’ve found it can help minimize brush strokes that can show up from hand painting with a brush. I don’t use a paint sprayer, even though a job like this would be easier with one. But these 6 chairs were hand painted with much love and care.
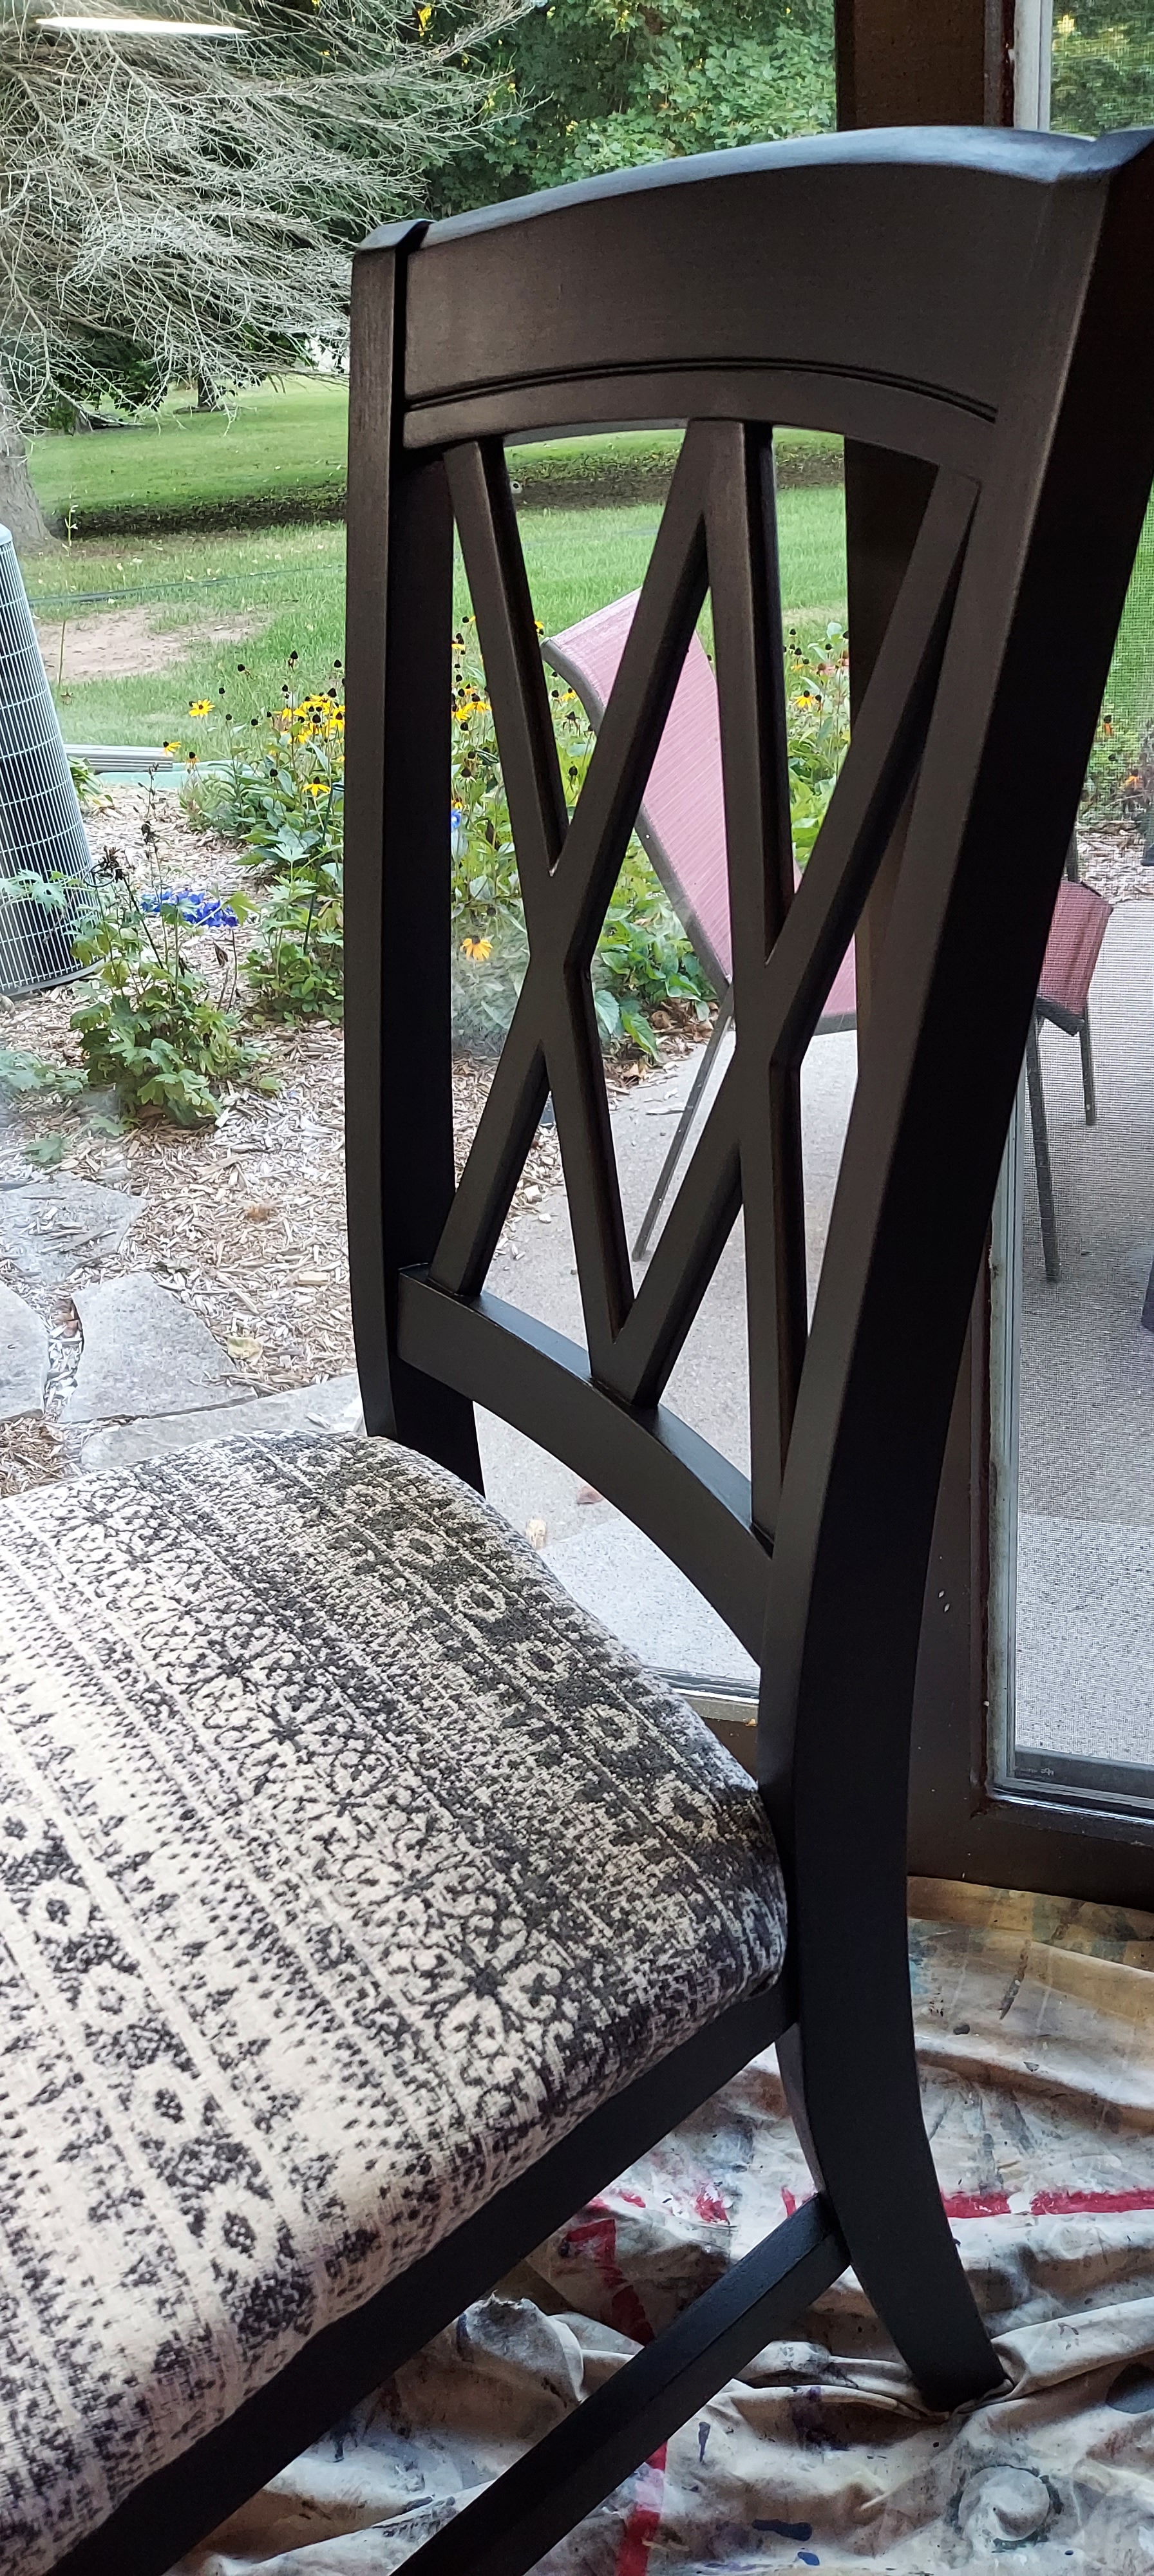
8. Apply topcoat. Once the black was solid and dry, I applied my favorite topcoat, General Finishes Flat Out Flat. It has the least amount of shine. Great for that modern farmhouse look. When painting dark colors, I mix some of the paint in the topcoat. This helps avoid a ghosting effect from the topcoat which can take away from your nicely finished paint job.
9. Re-apply the seats. Using the same screws as before, line up the new seats and screw them on tight. PSA: don’t wear a sweatshirt for this part. I was sweating up a storm while doing this. Also, I marked my wood bases with a letter to correspond with a letter on the bottom of the chair. This ensured the same bottom went with the same chair in case they all didn’t line up the same.

And now for the final results!
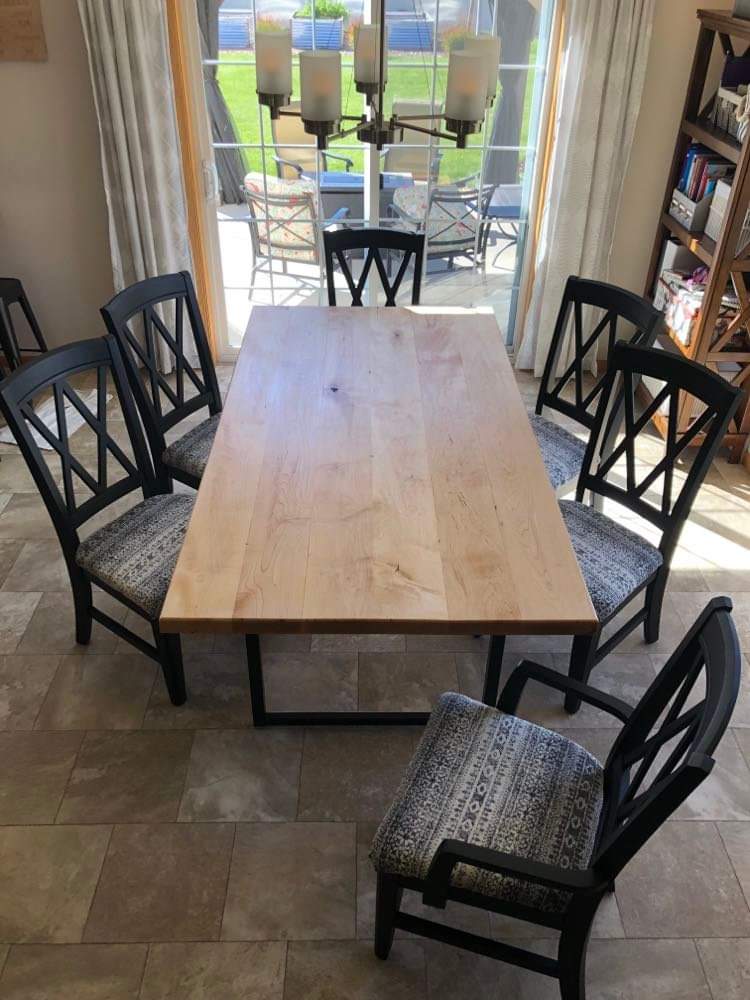
How amazing is that? My client had the table custom-built. The chairs work with the black table base, and look so sleek with the natural wood top.
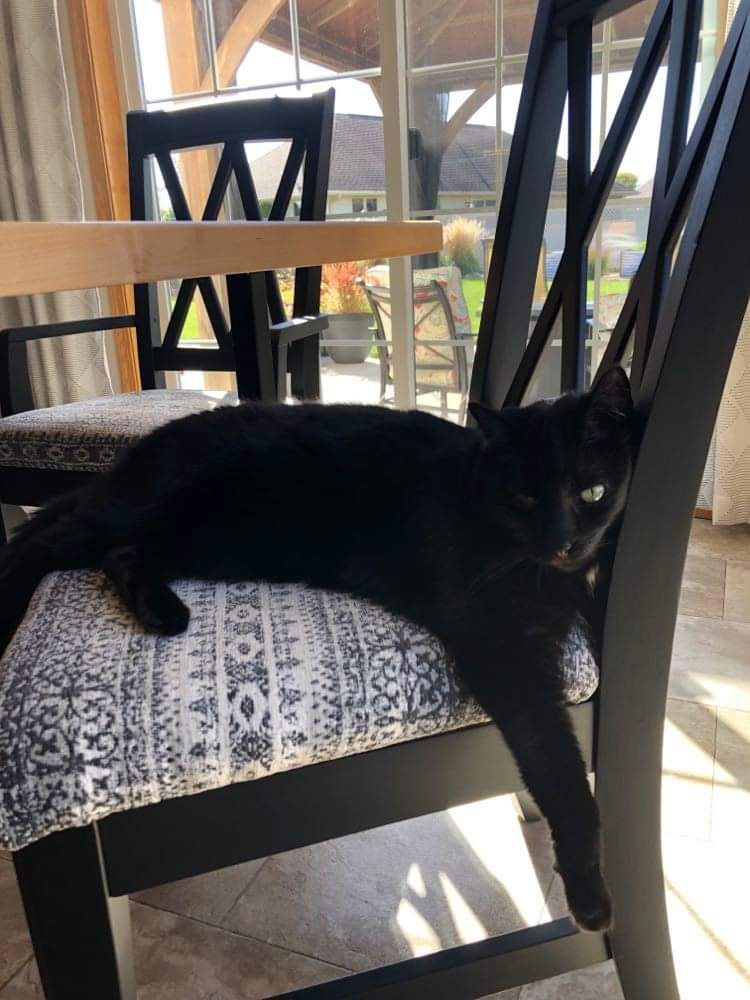
Kitty approves, too. I know what you’re thinking, kitty cat, and yes, the chairs were painted to match your shiny coat. I’m sure of it!
I hope this inspires you to save those dining tables and chairs,
Kellee
See what’s next! Subscribe to my Blog to get future posts sent right to your email.


Copyright © 2022 Charm & Grit. All Rights Reserved.
